With the impetus of an "art party" to celebrate my friends' children's birthdays, a project to "biggify" a spin art contraption of this ilk was assigned.
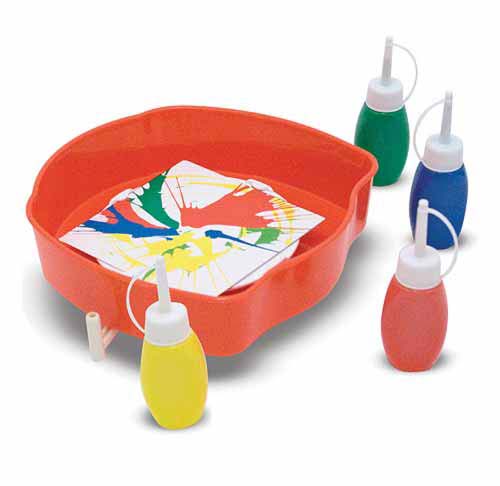
The project thus commissioned, we set out to create a spin art machine that would hold squares of paper 18" to a side instead of the 5-6" the toy versions hold. This was the final product and the following is the story of how we got there.
Since the entire project quite literally revolved around being able to spin a piece of paper 18 inches square at a rate fast enough to create the desired effect, we started with brainstorming the best way to go about doing that. After a couple false starts considering more expensive and complicated electric motors, we ended up deciding that a box fan held the perfect motor for our needs.
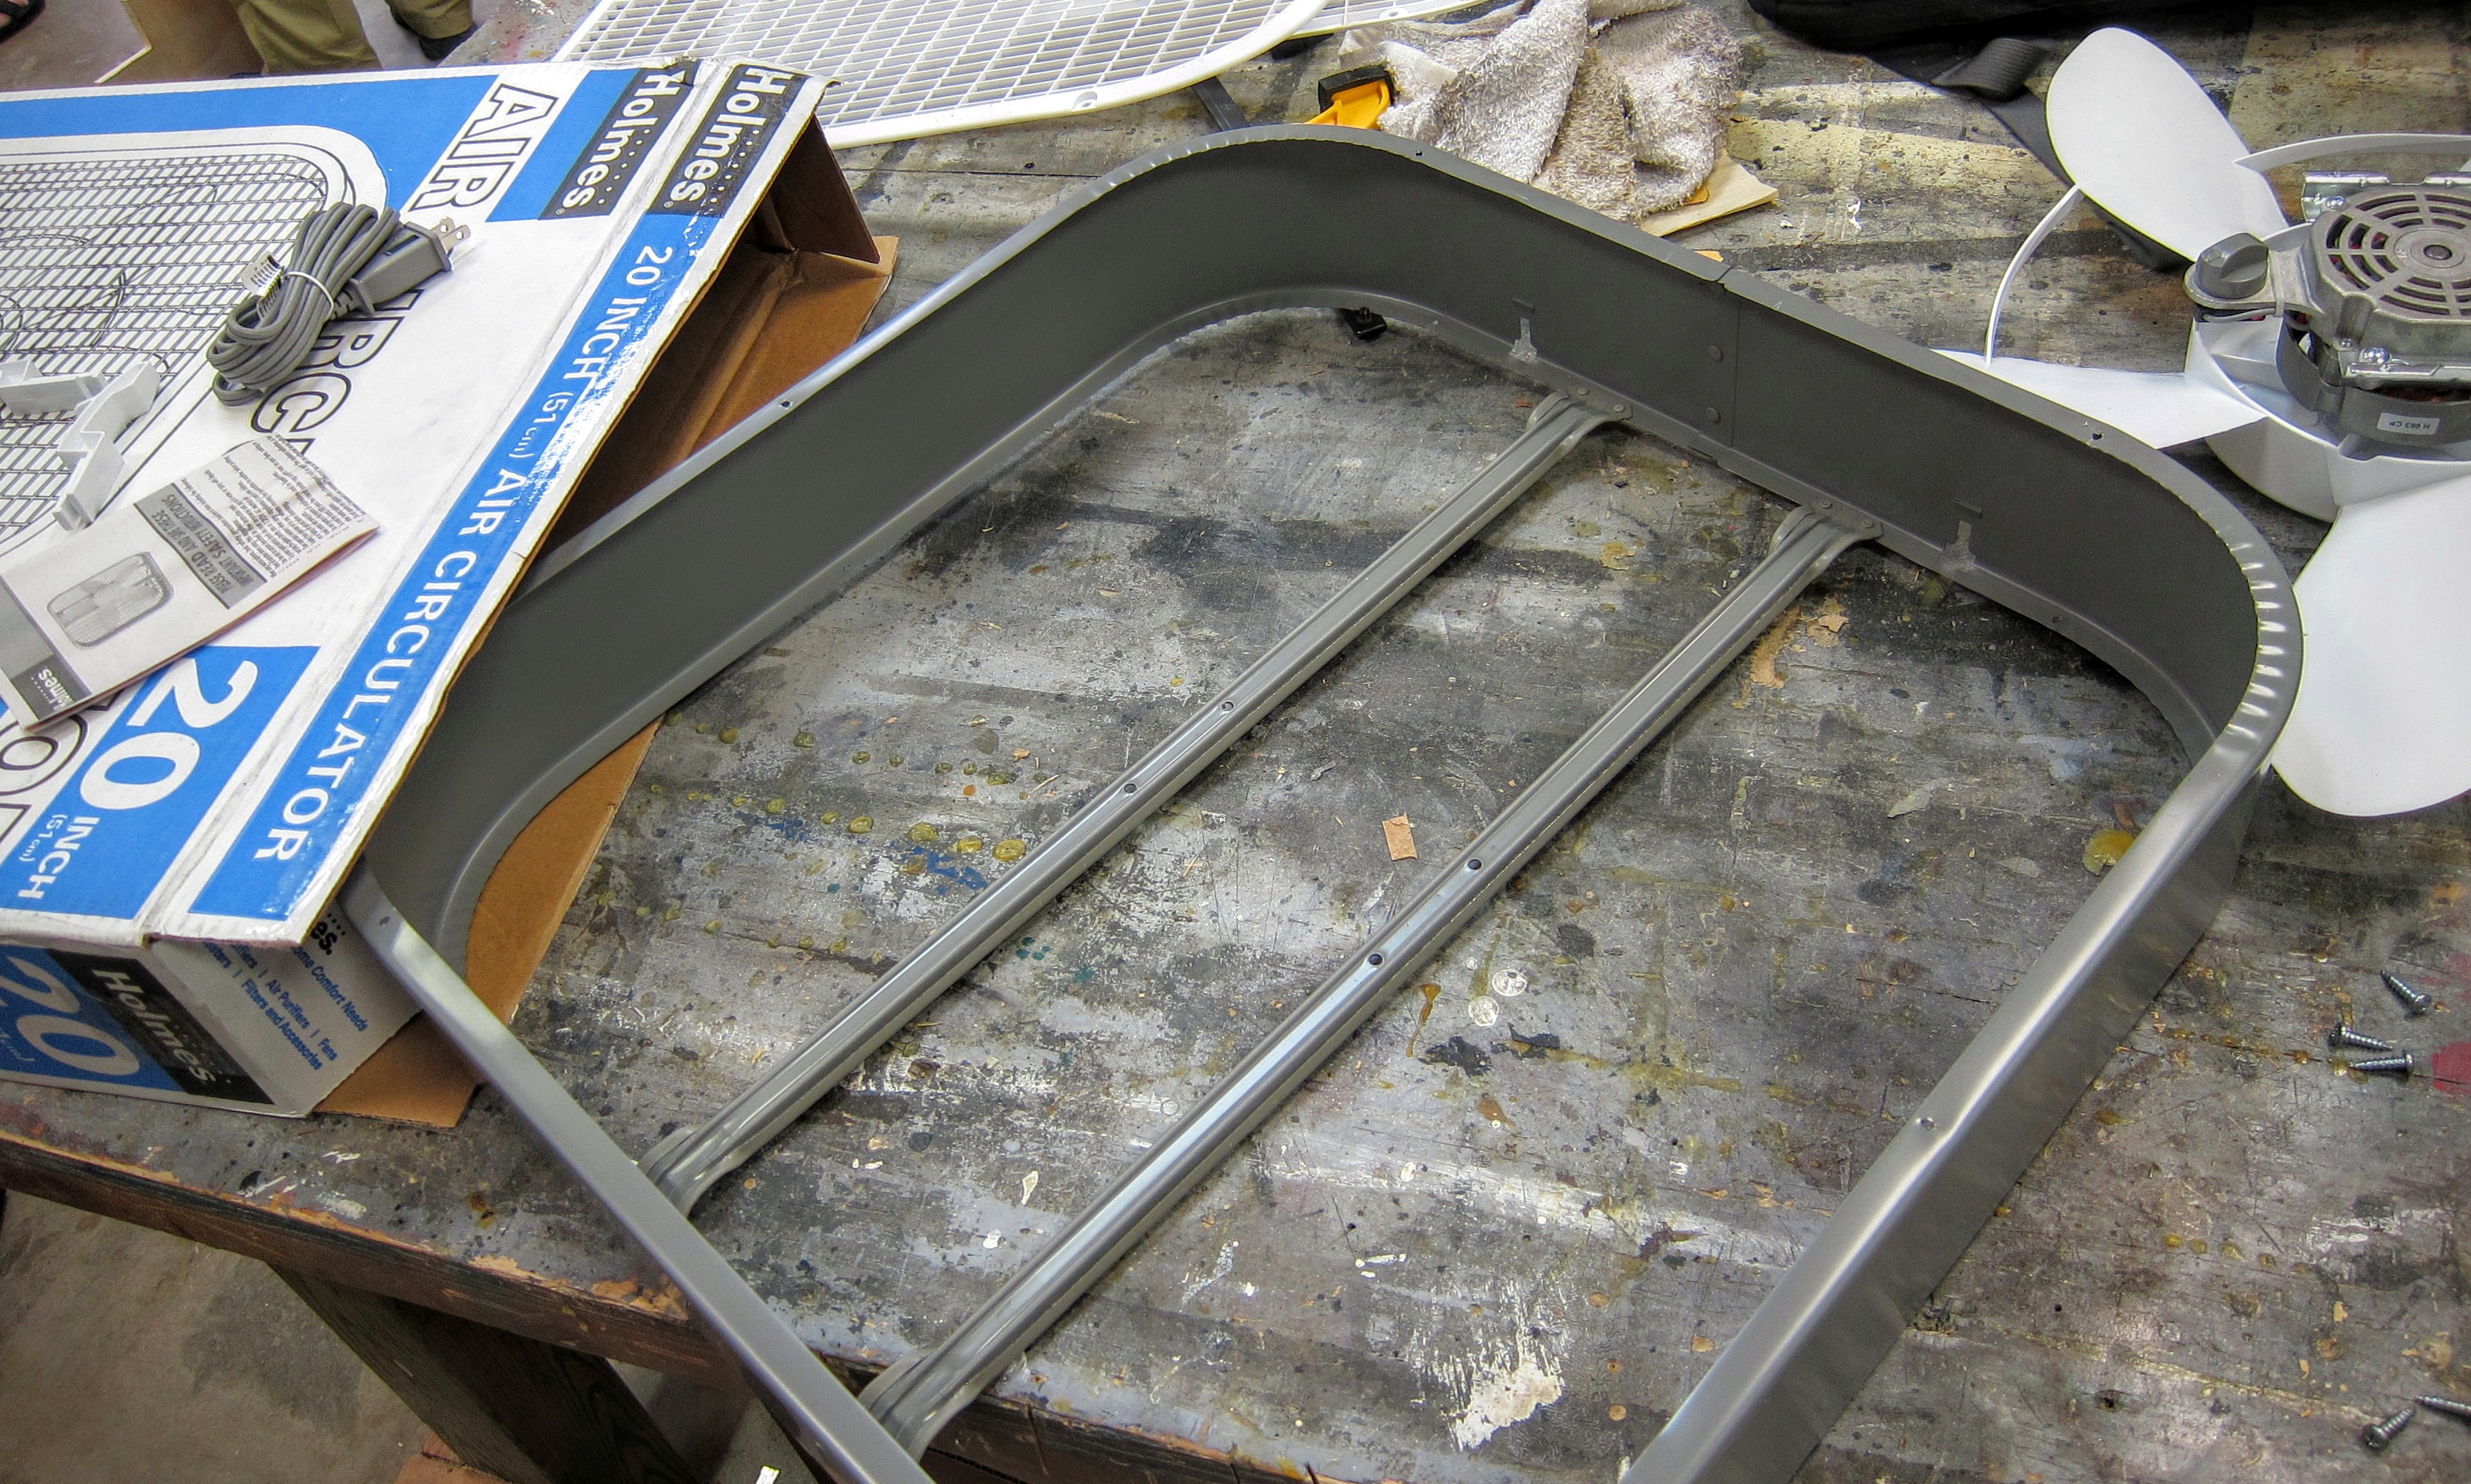
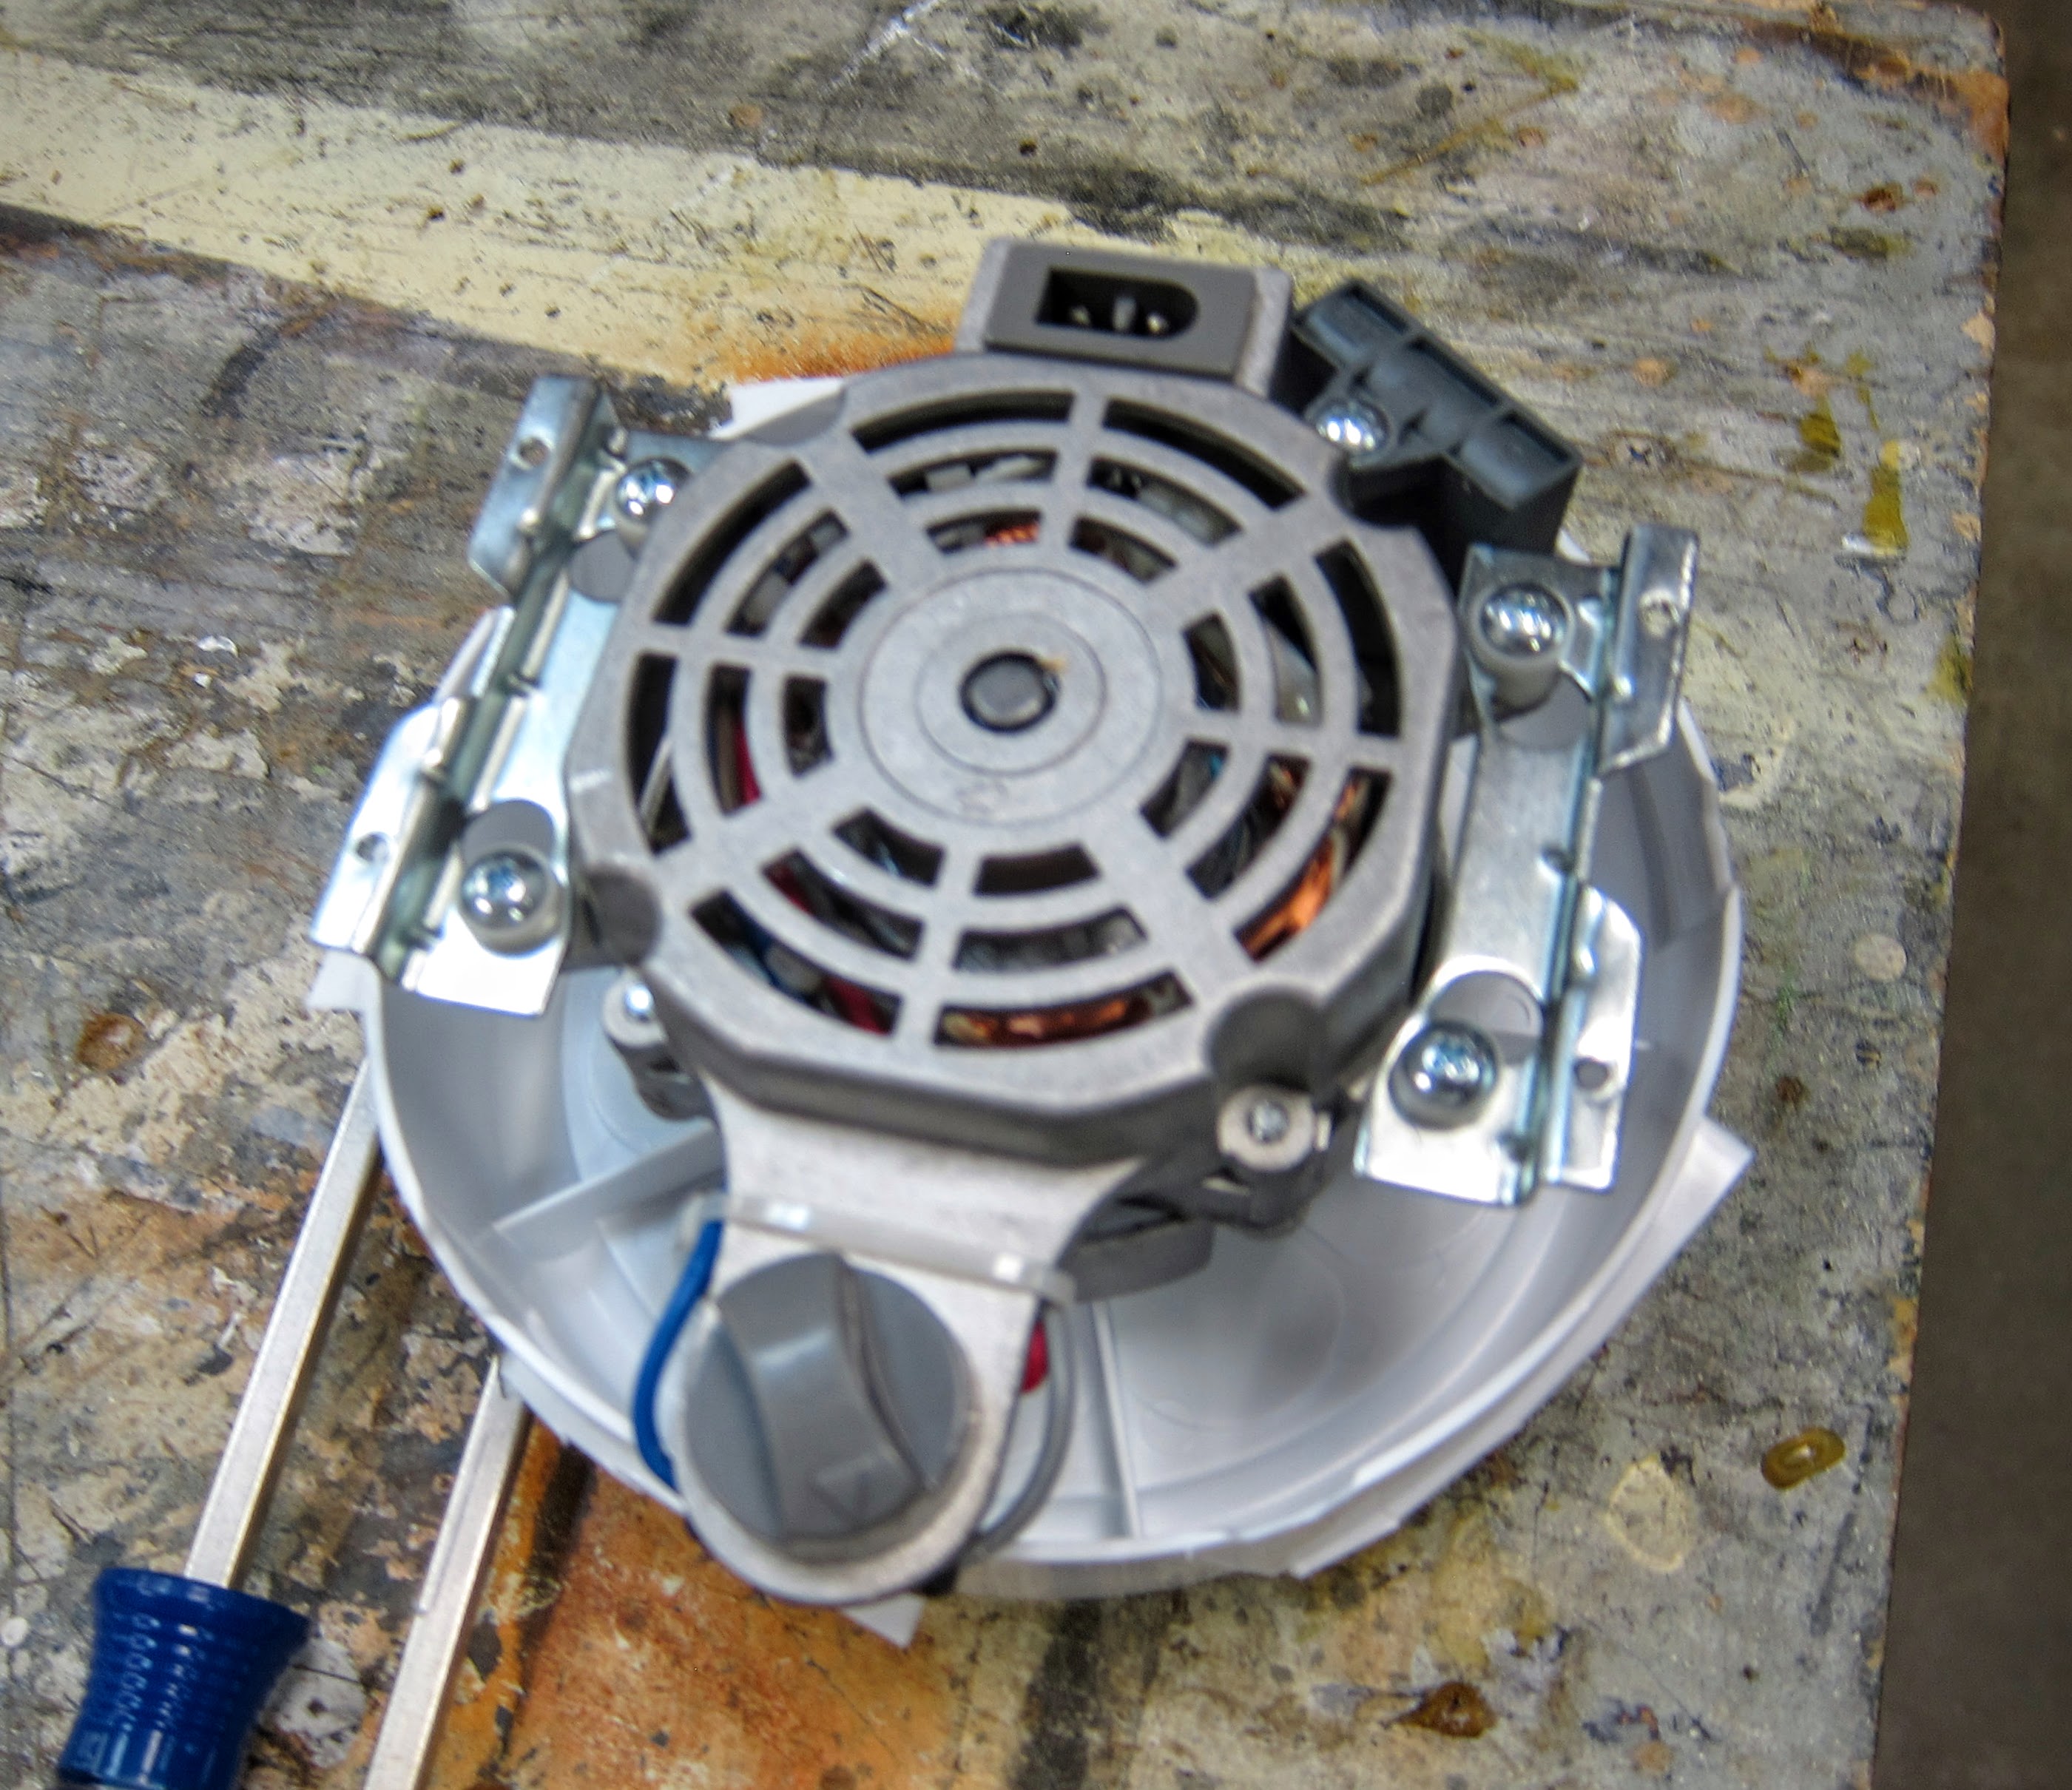
With the box fan quickly disassembled and the fan dissected (the center was kept as a platform mount, the blades were trimmed off), we quickly set about designing an enclosure to both contain the expected splash and to protect shins from whatever quickly whirling platform would be constructed to hold the paper. We quickly roughed out some dimensions (with an 18.5" platform, to have an inch of clearance would require the sides to be just less than 28"... thank you Pythagoras).
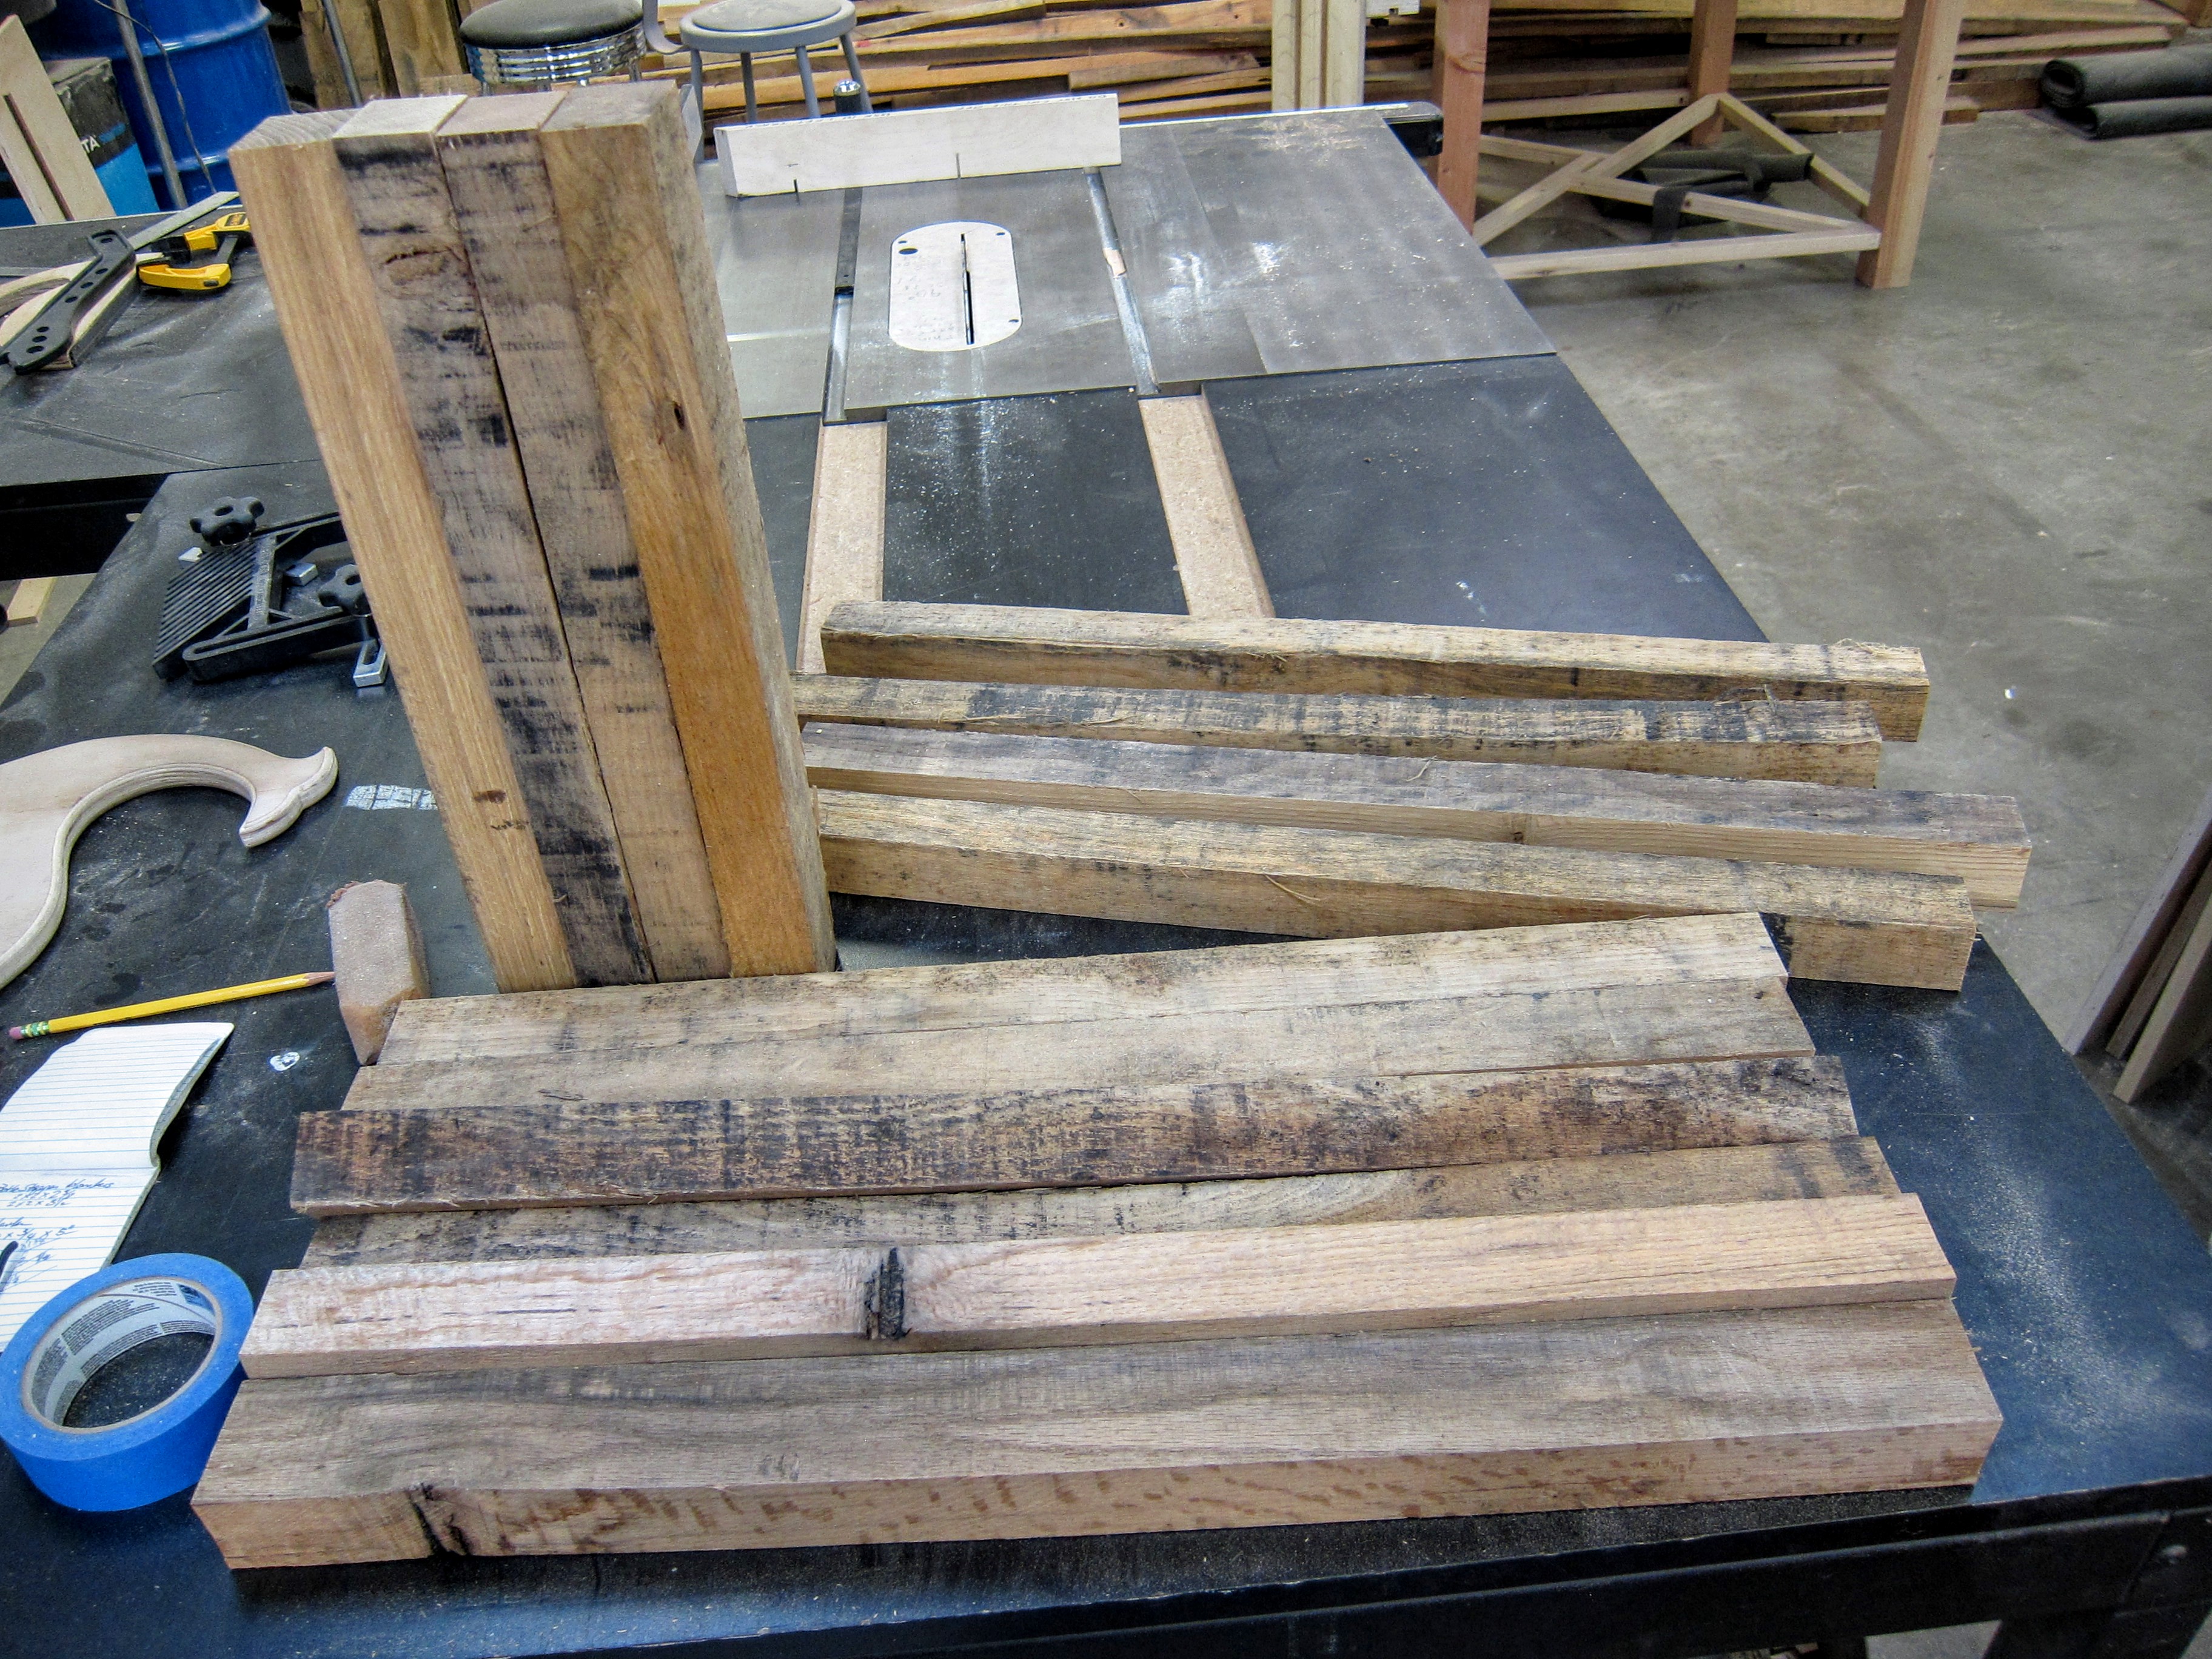
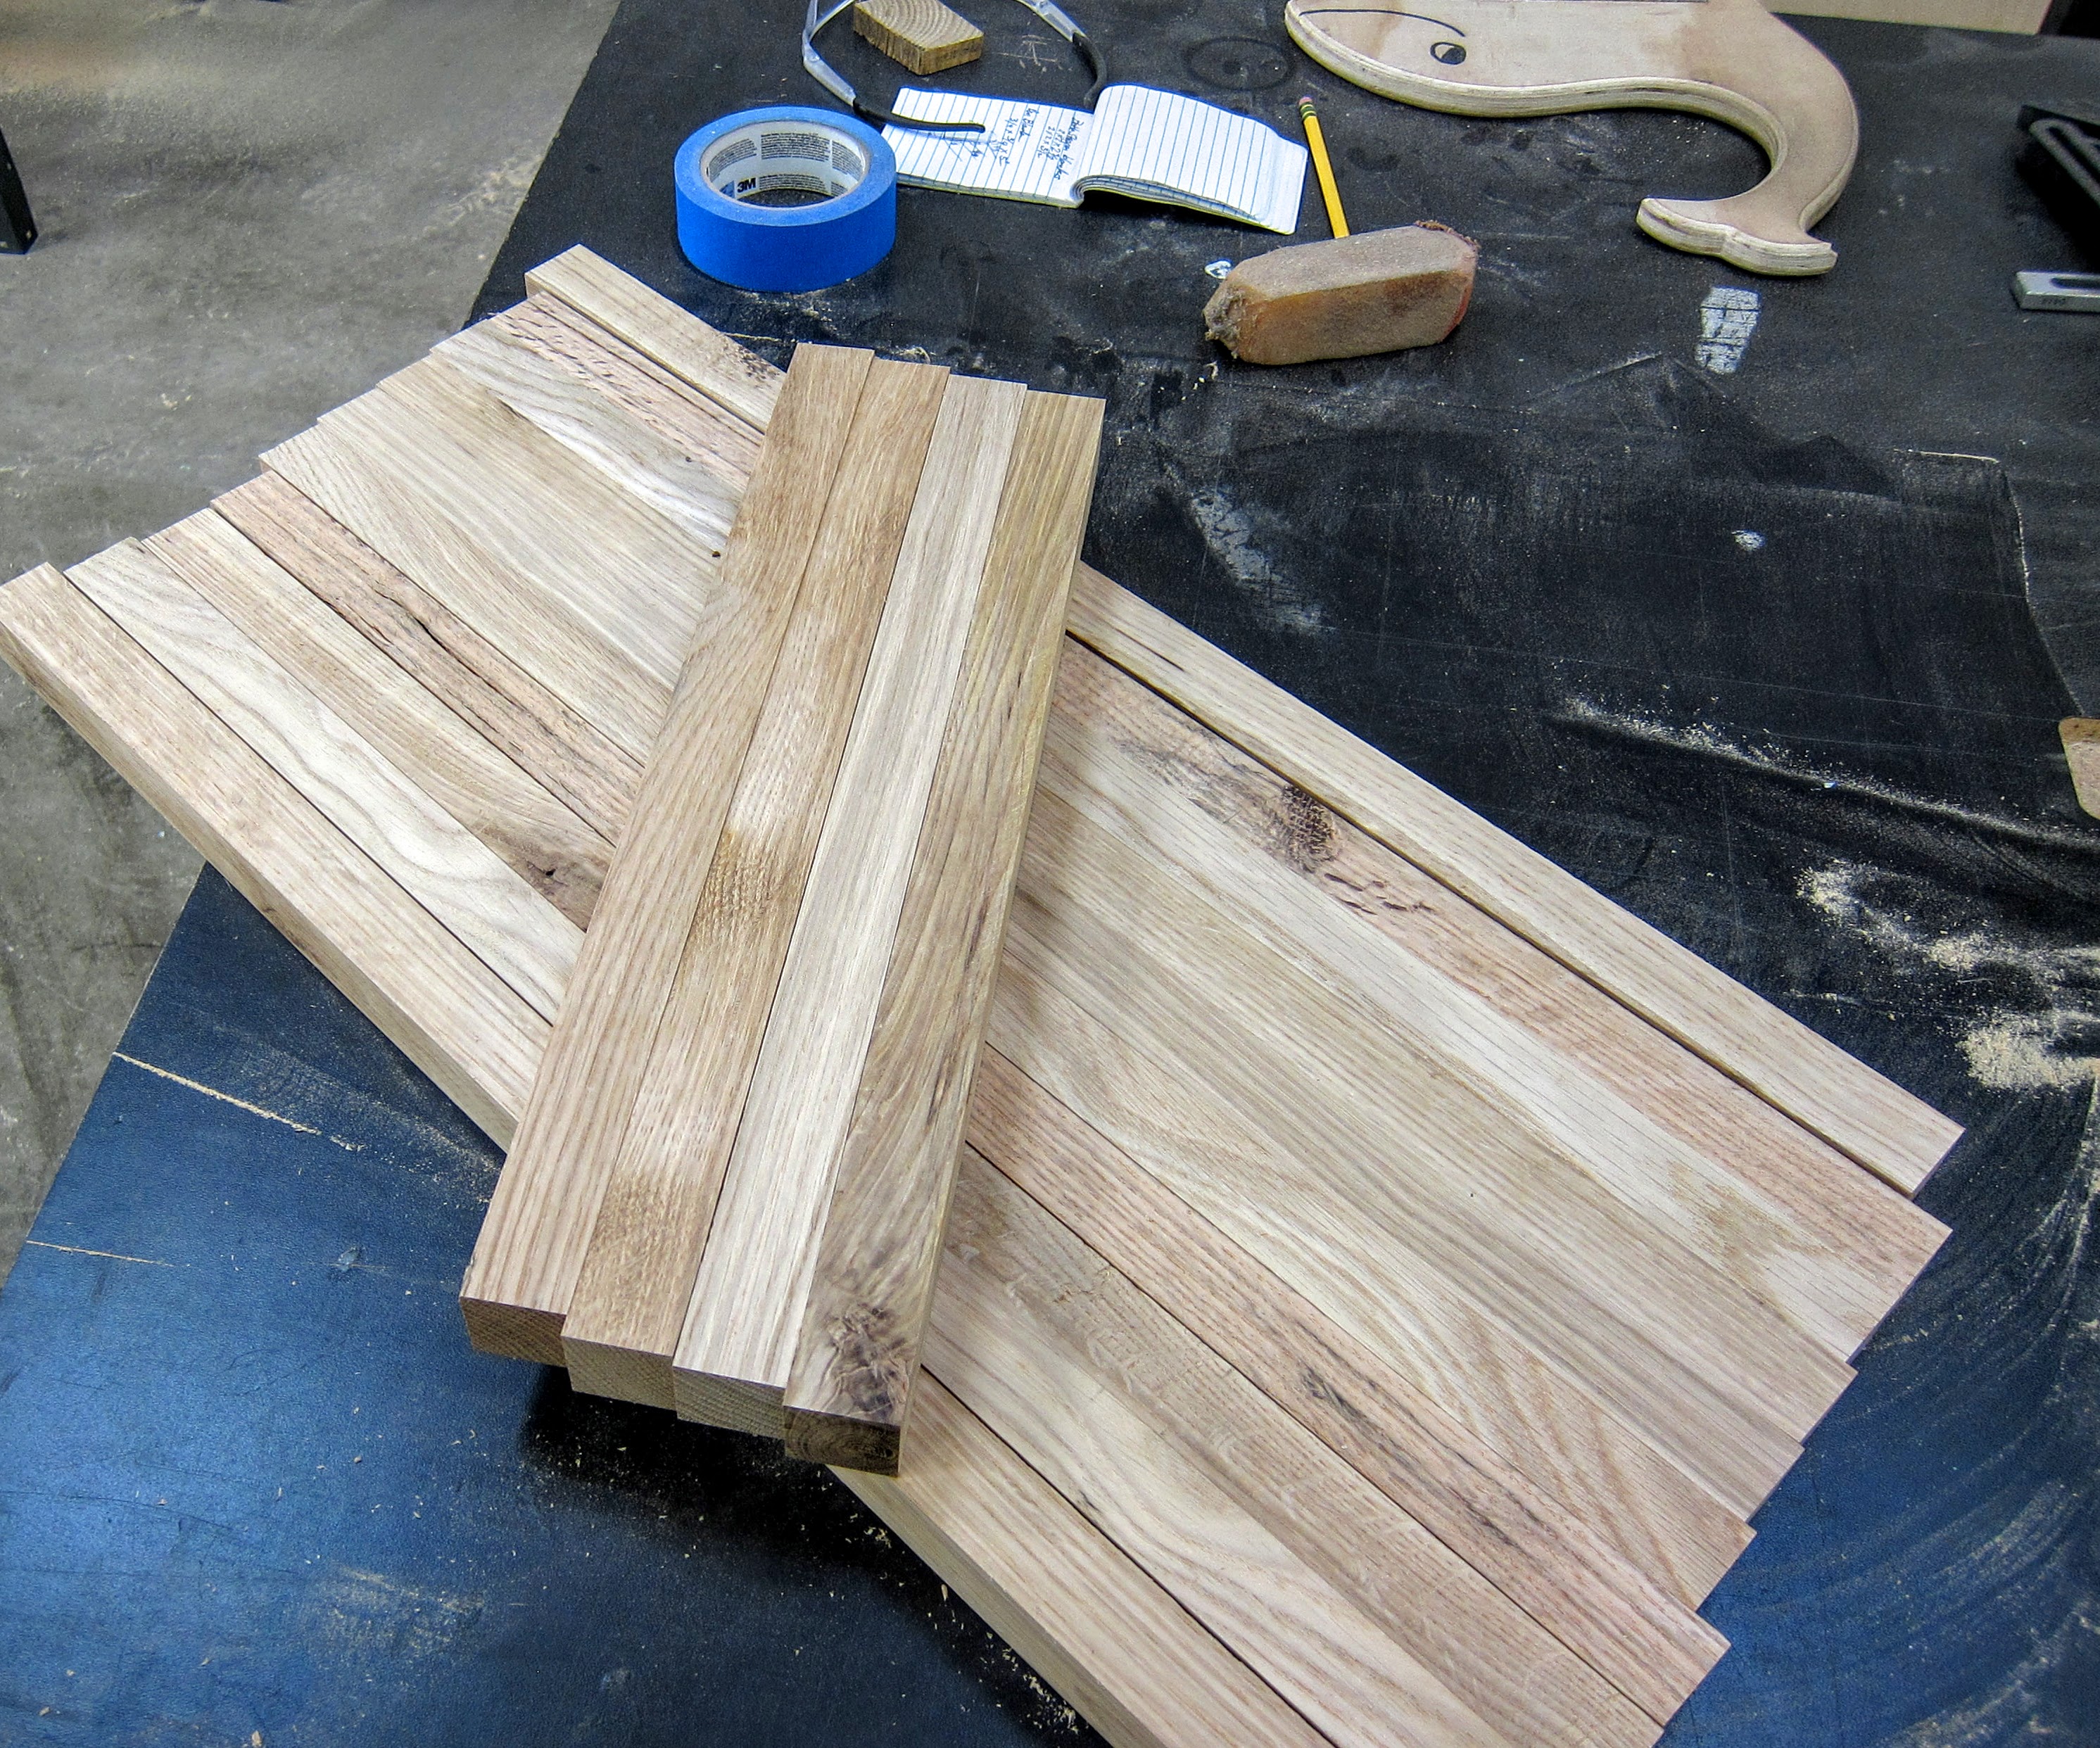
Our dimensional requirements complete, we finished creating the necessary stock for the simple enclosure our plan necessitated.
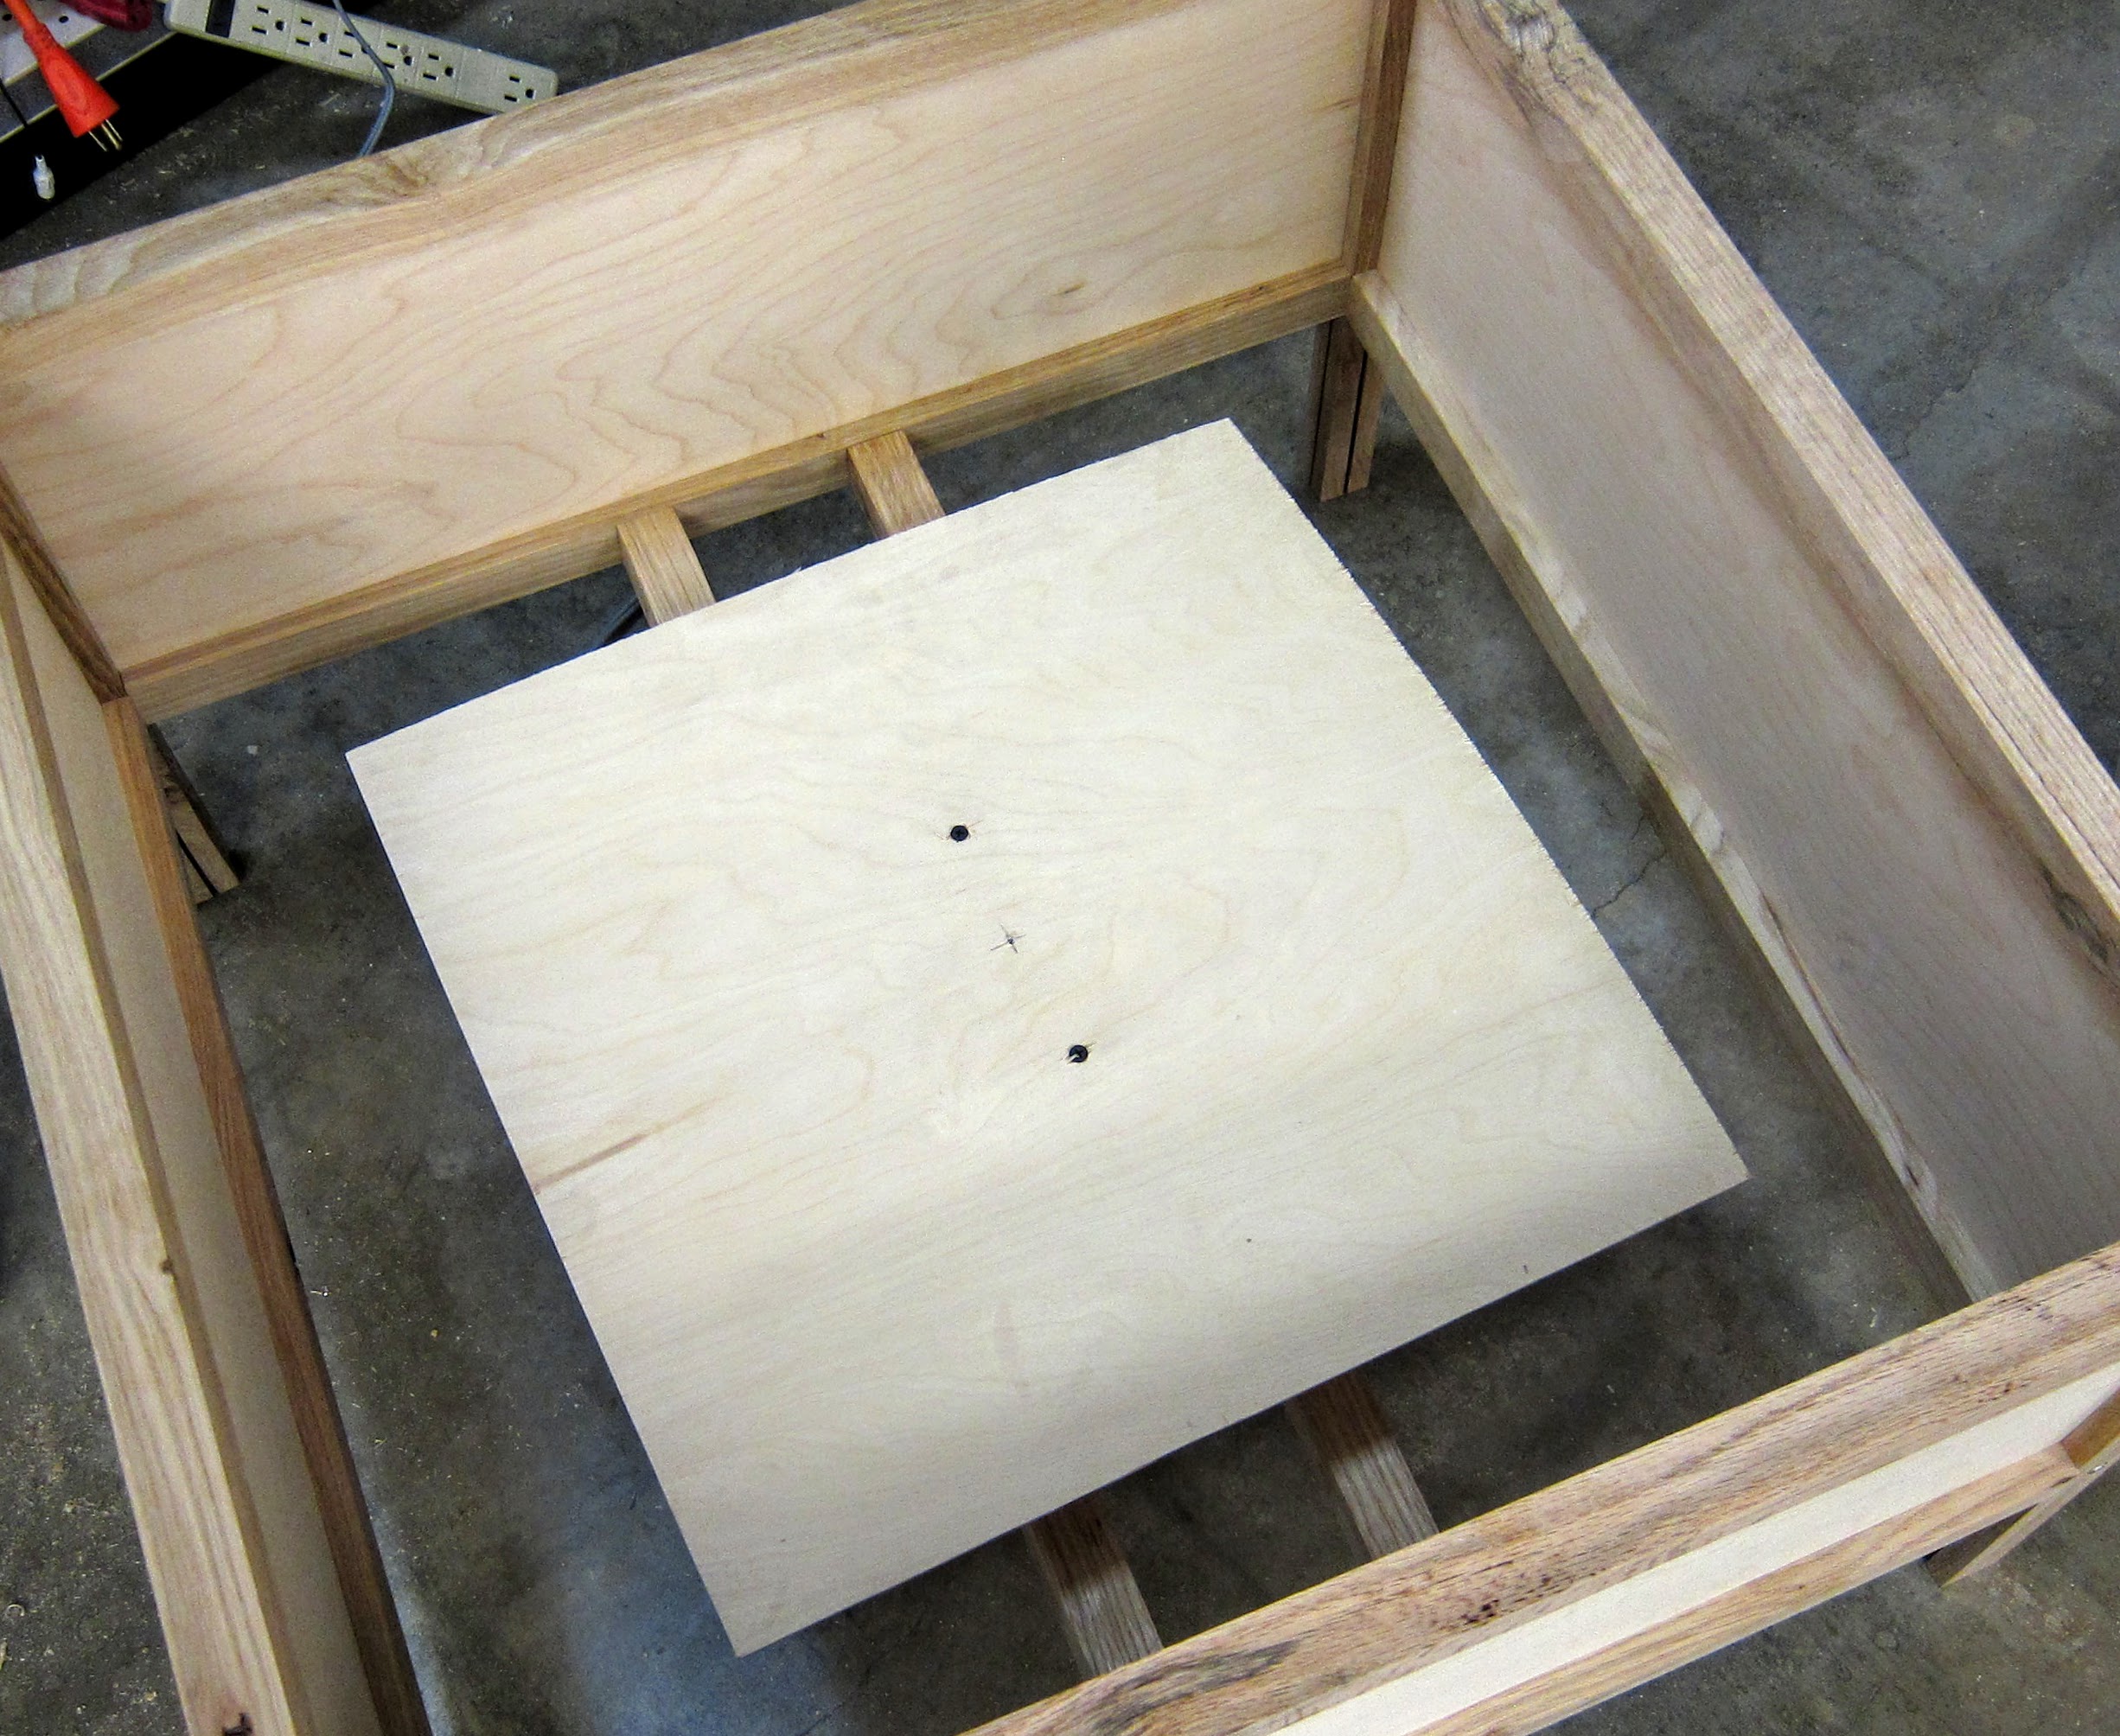
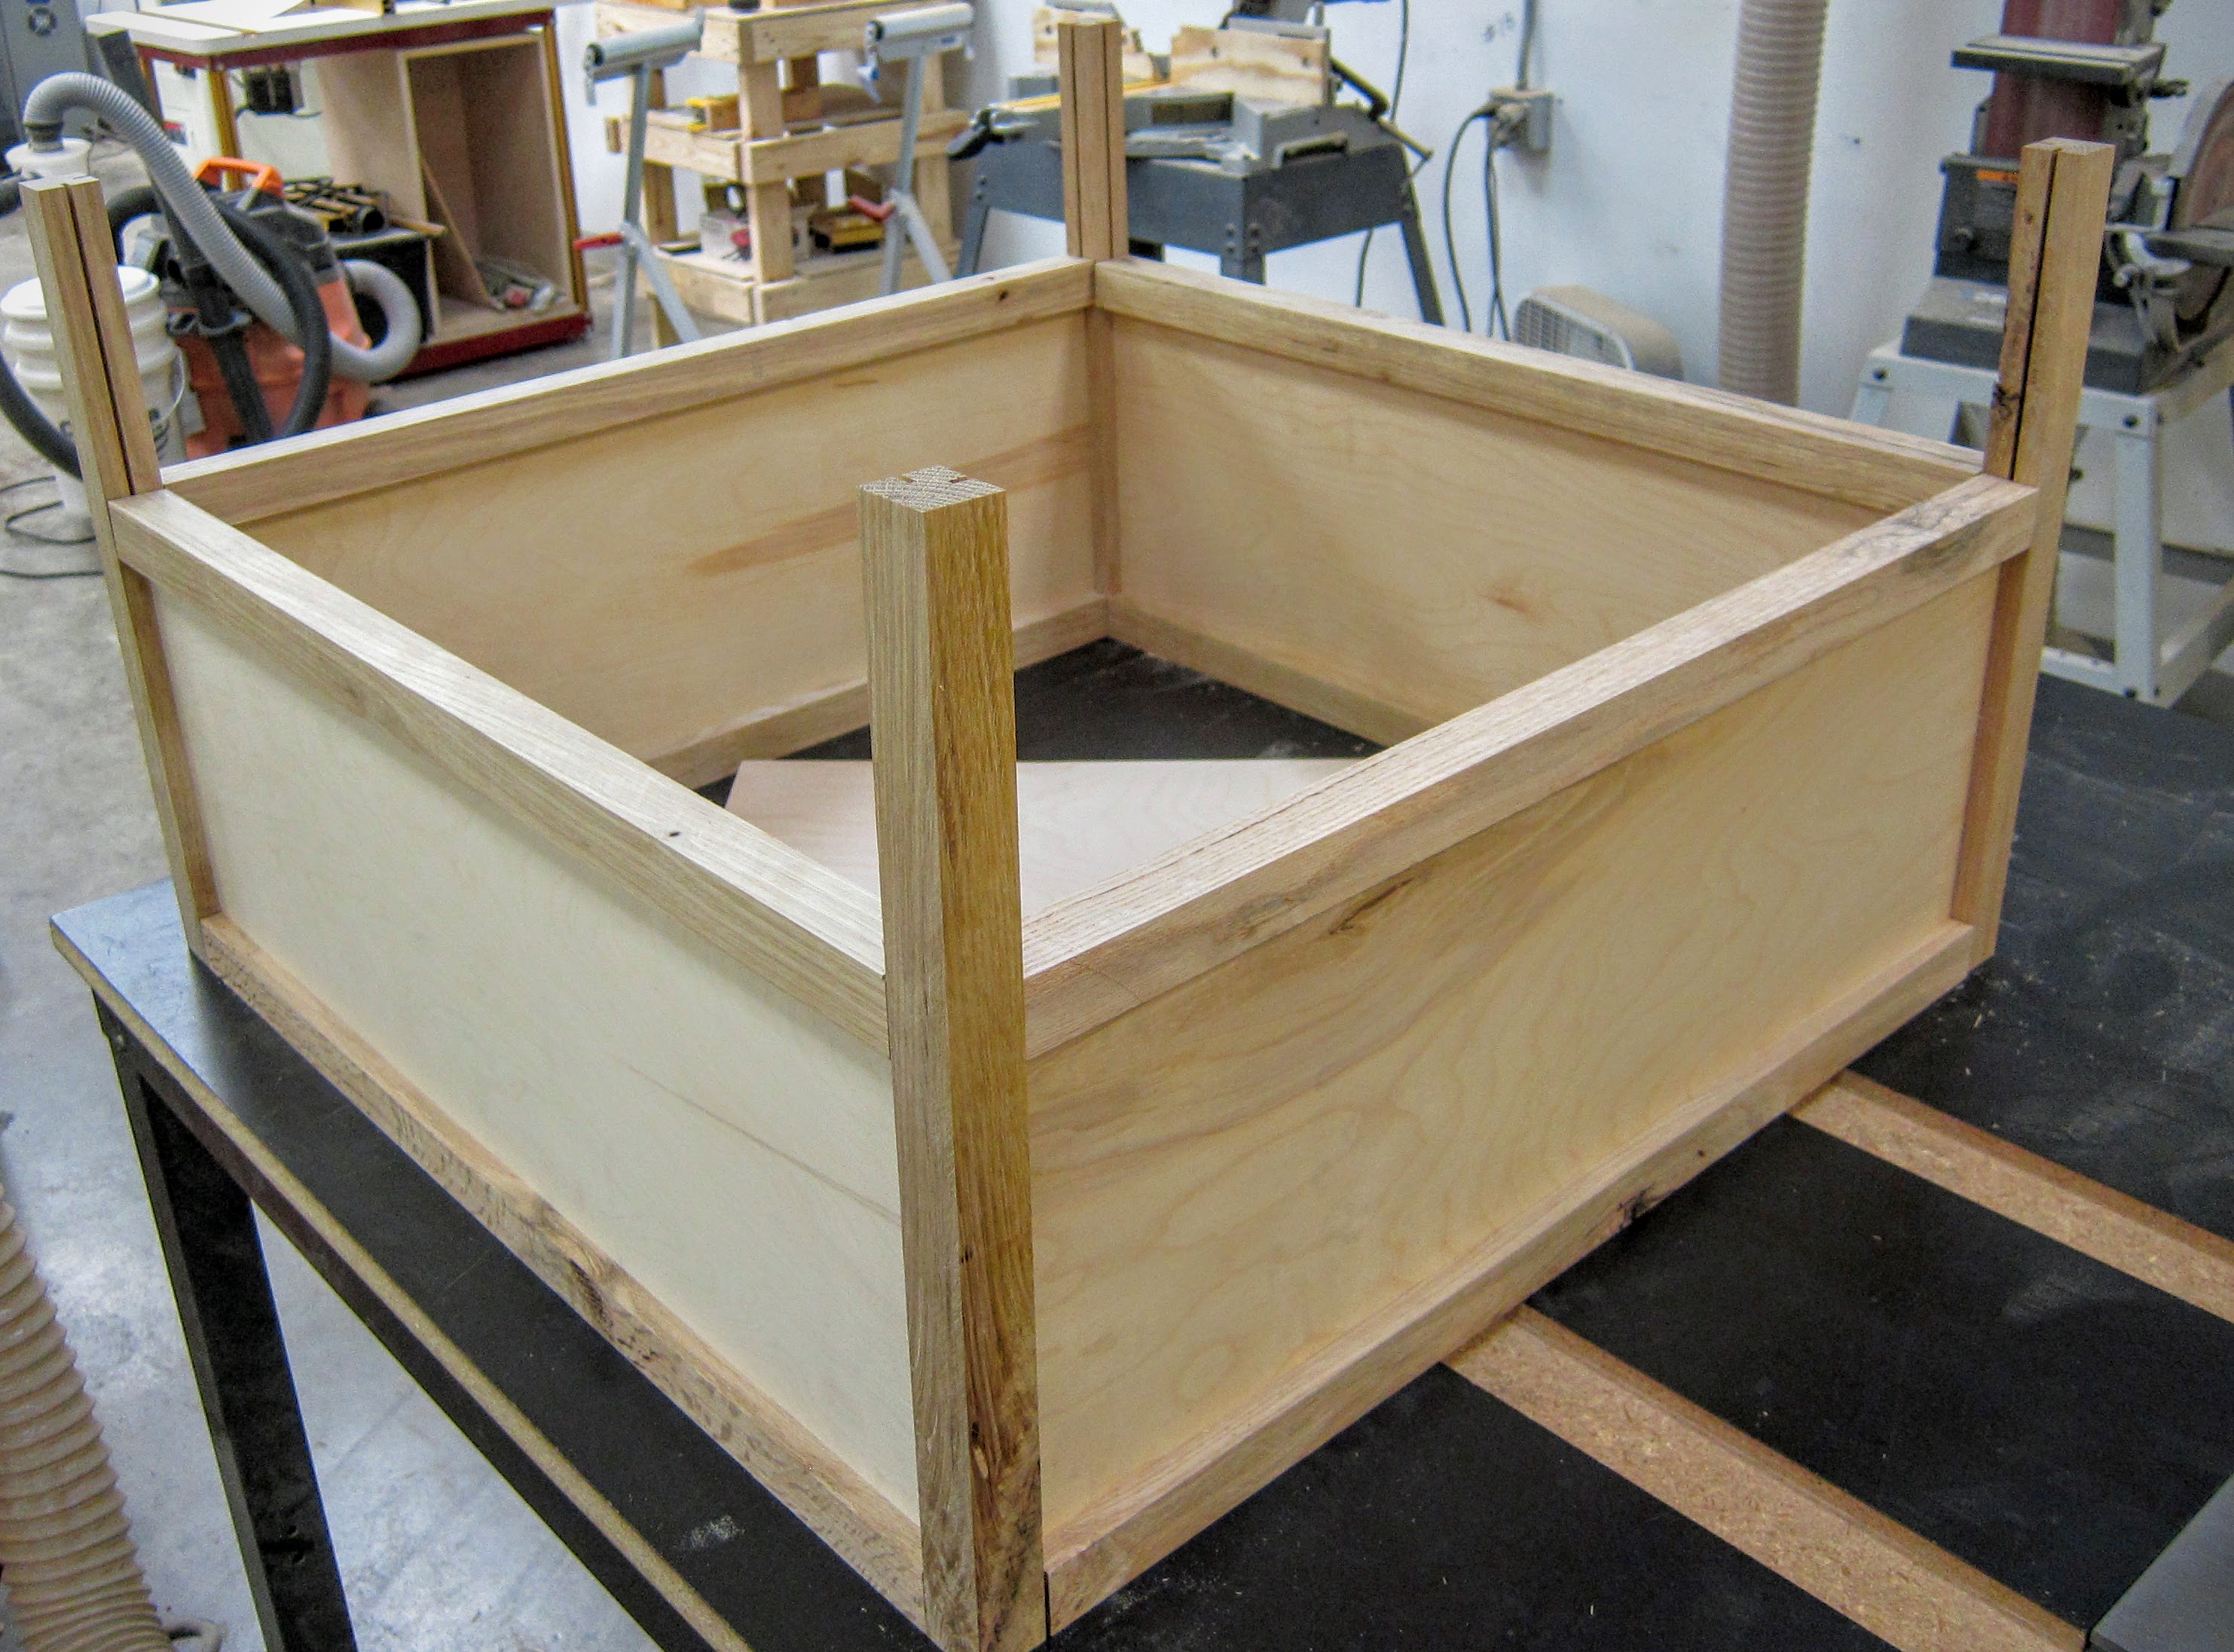
After cutting a few panels to act as the splash guard within the frame we'd created, it was time to see just how well things would actually fit together. You can see the future platform set in the center to make sure our calculations of the necessary clearance were correct.
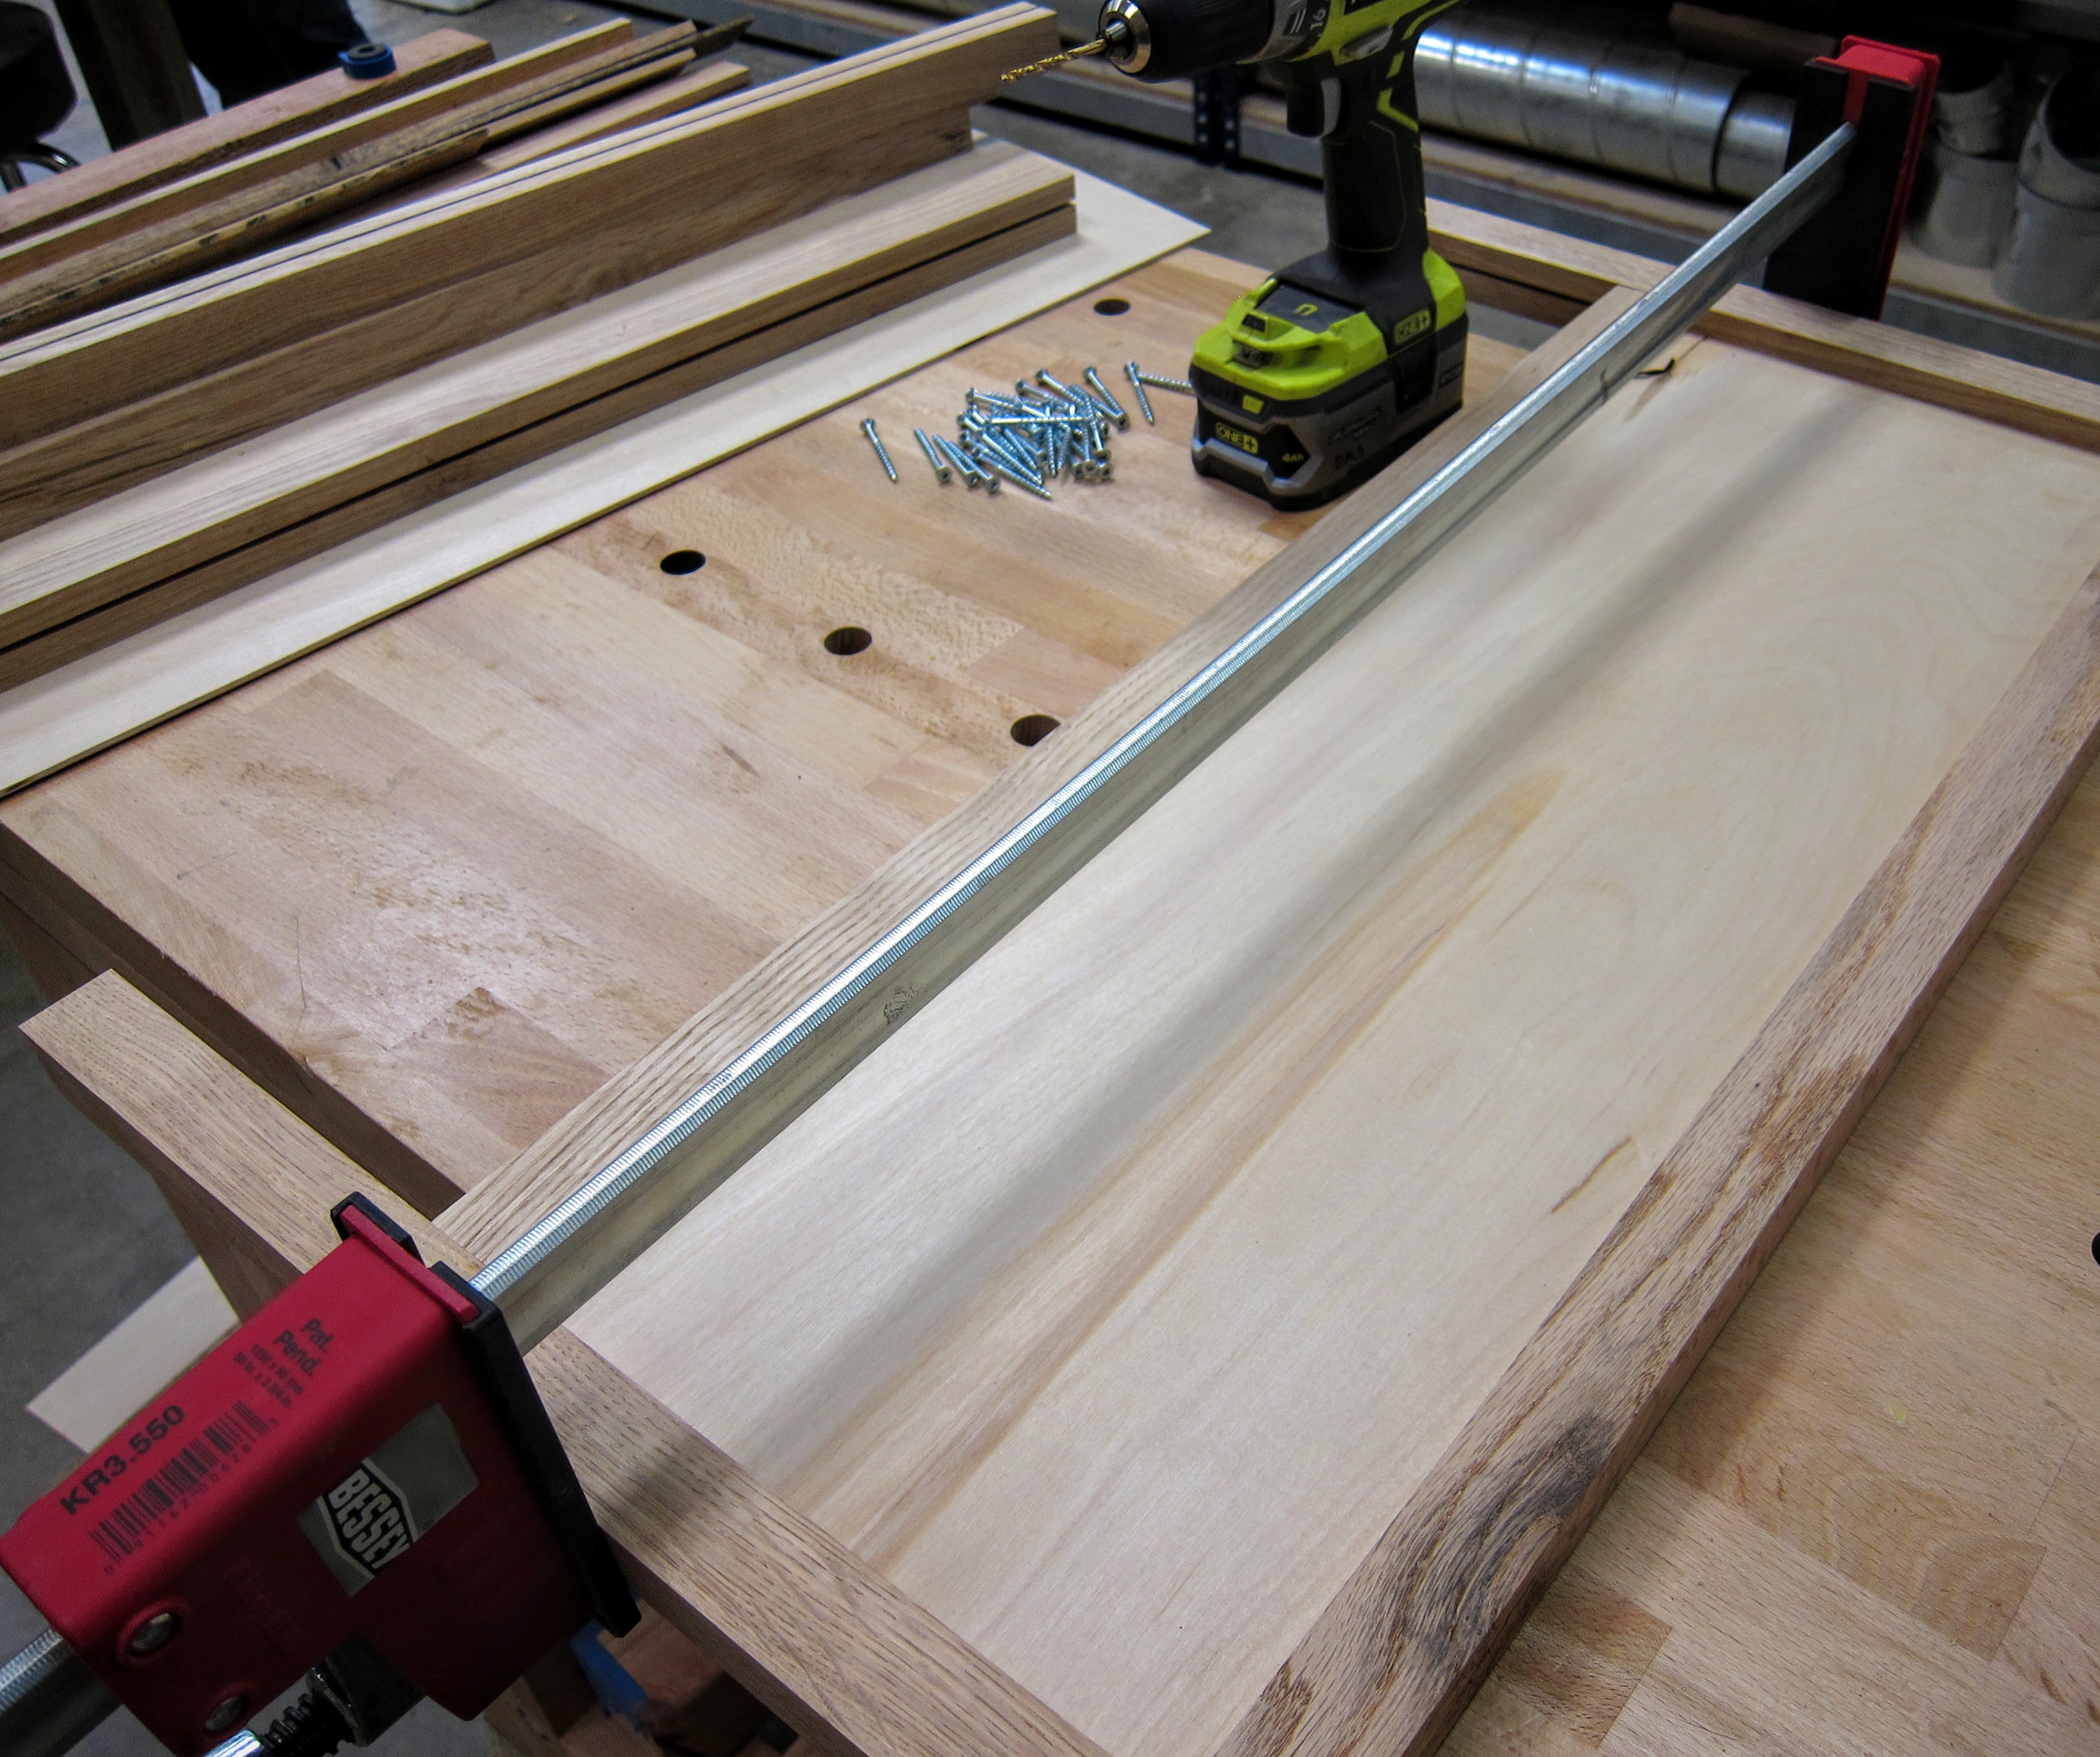
The fit and clearance confirmed, it was time for assembly. A few clamps to hold things together while we secured everything and we quickly had a new box for our former box fan motor to call home.
With the external enclosure complete, we calculated the center, attached a mounting frame, and attached our motor.
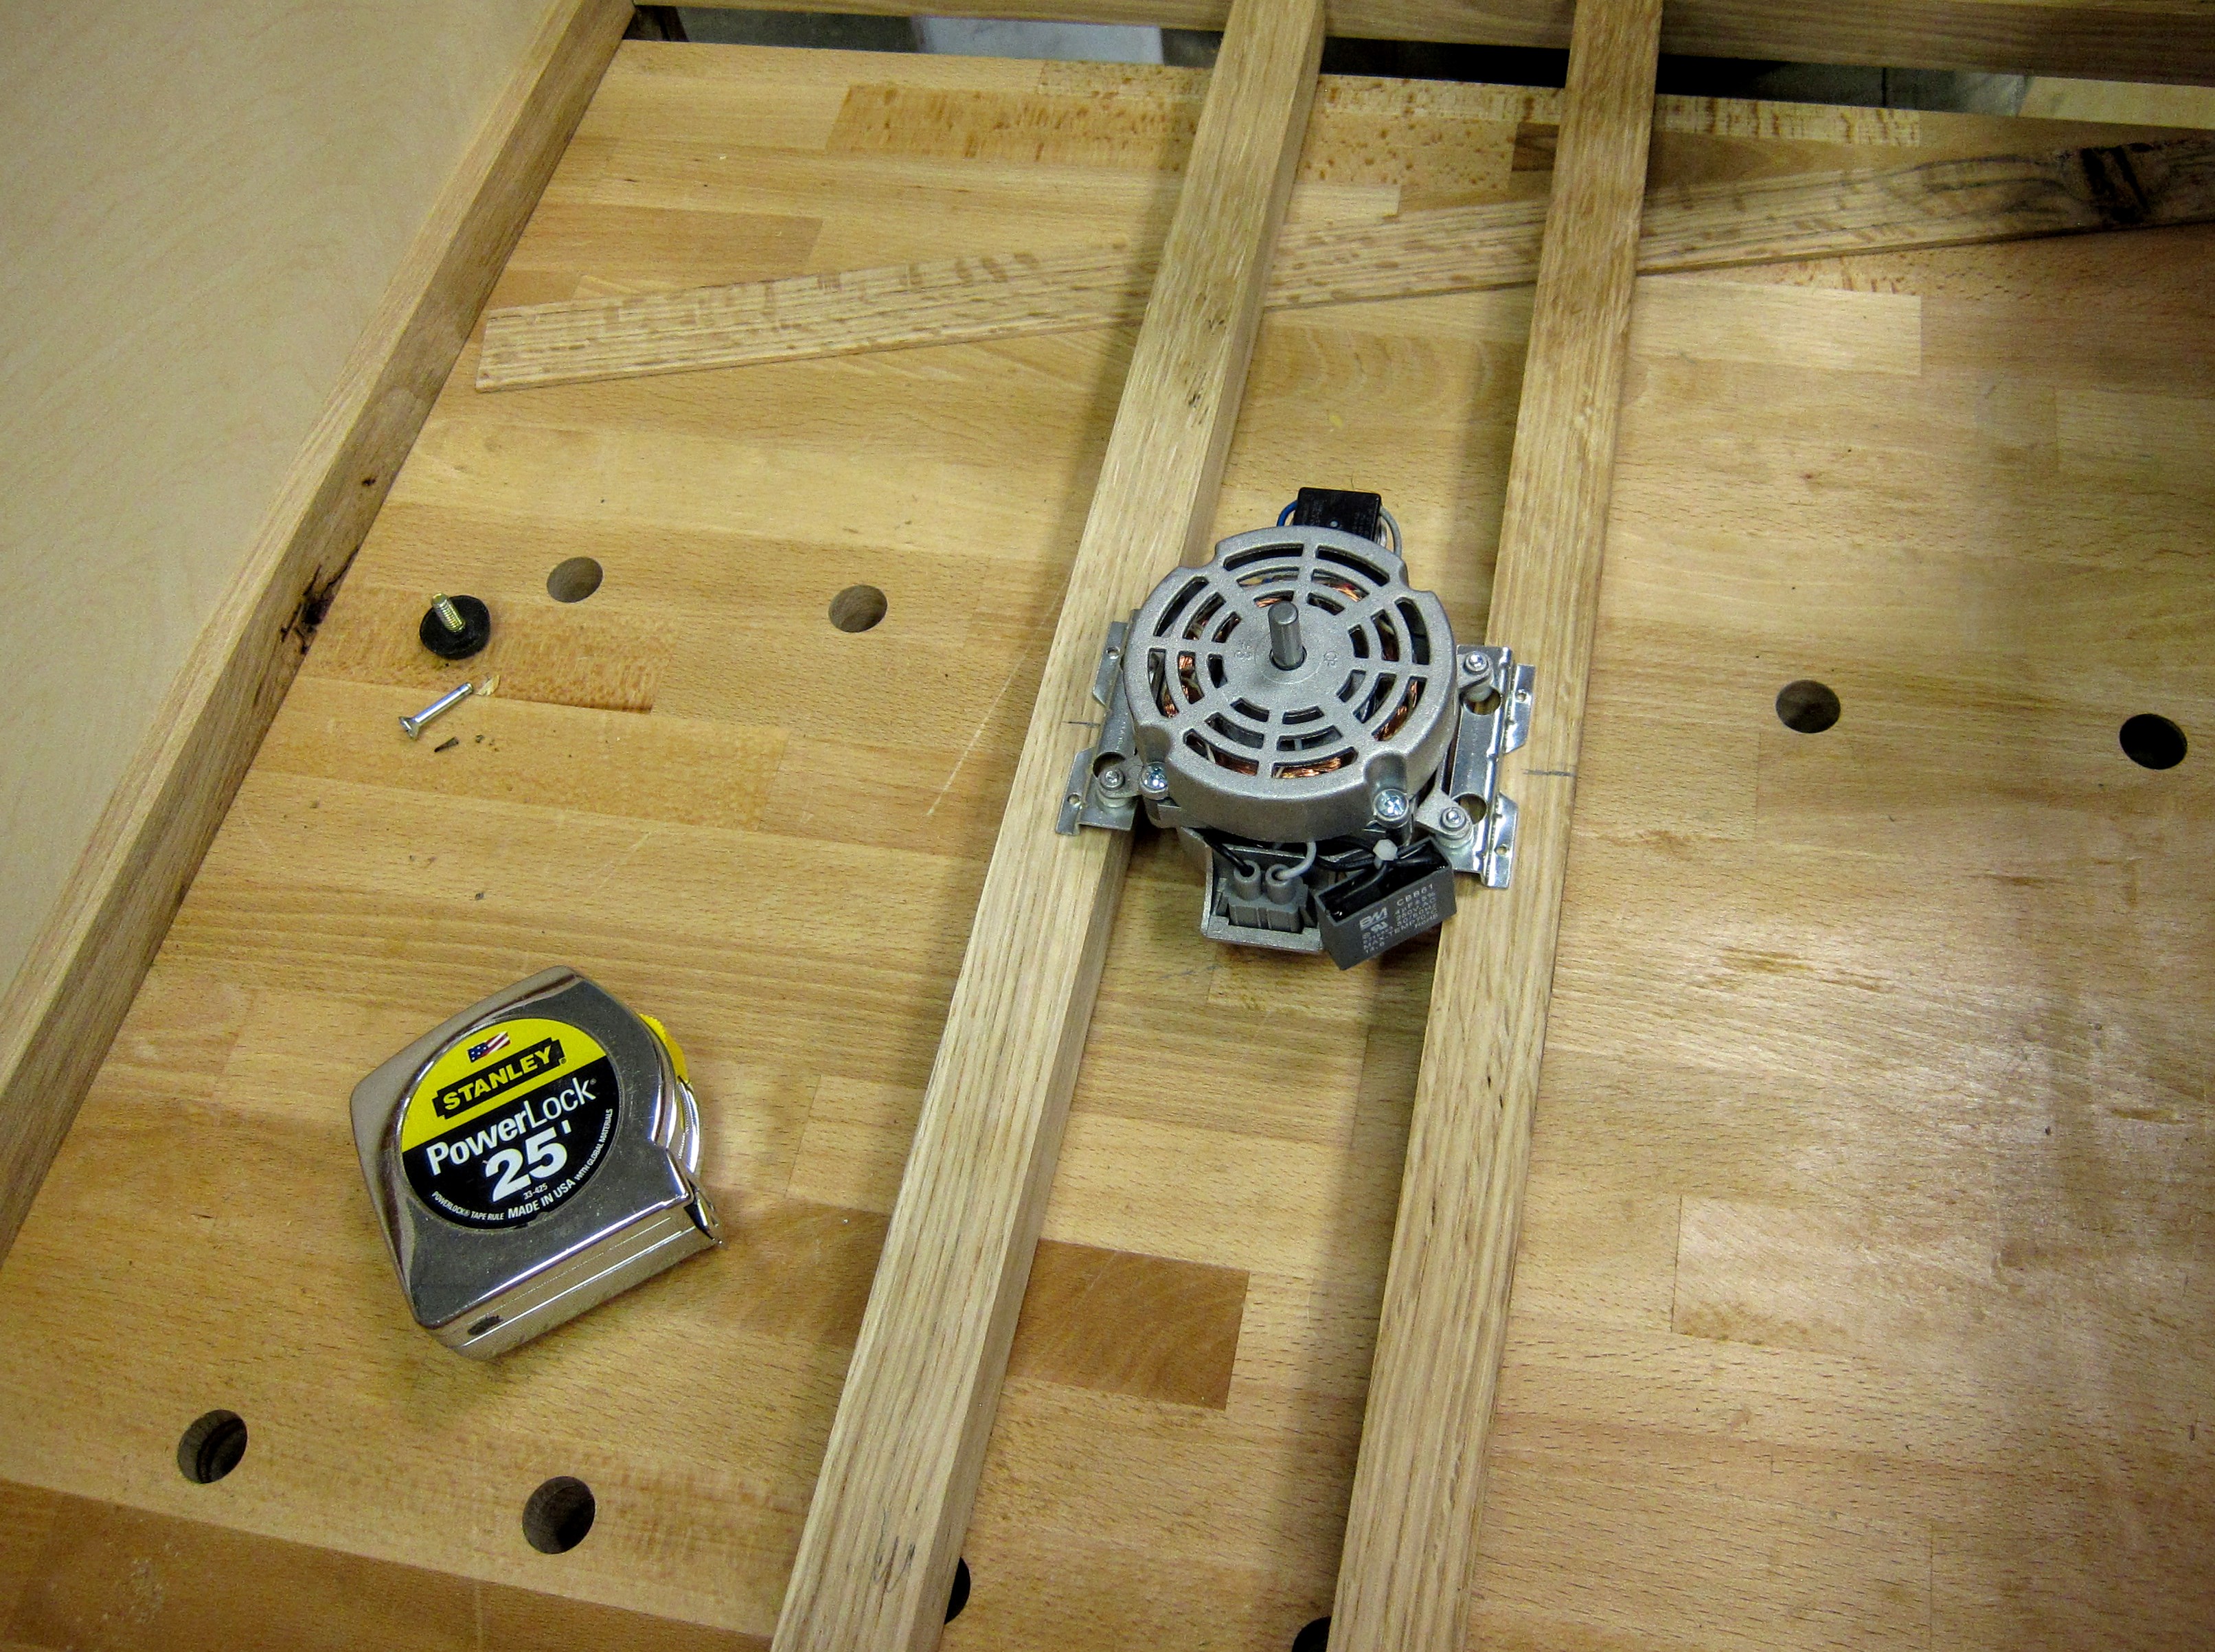
And with the motor mounted and everything checked for square, the project was complete and ready for its first spin test.
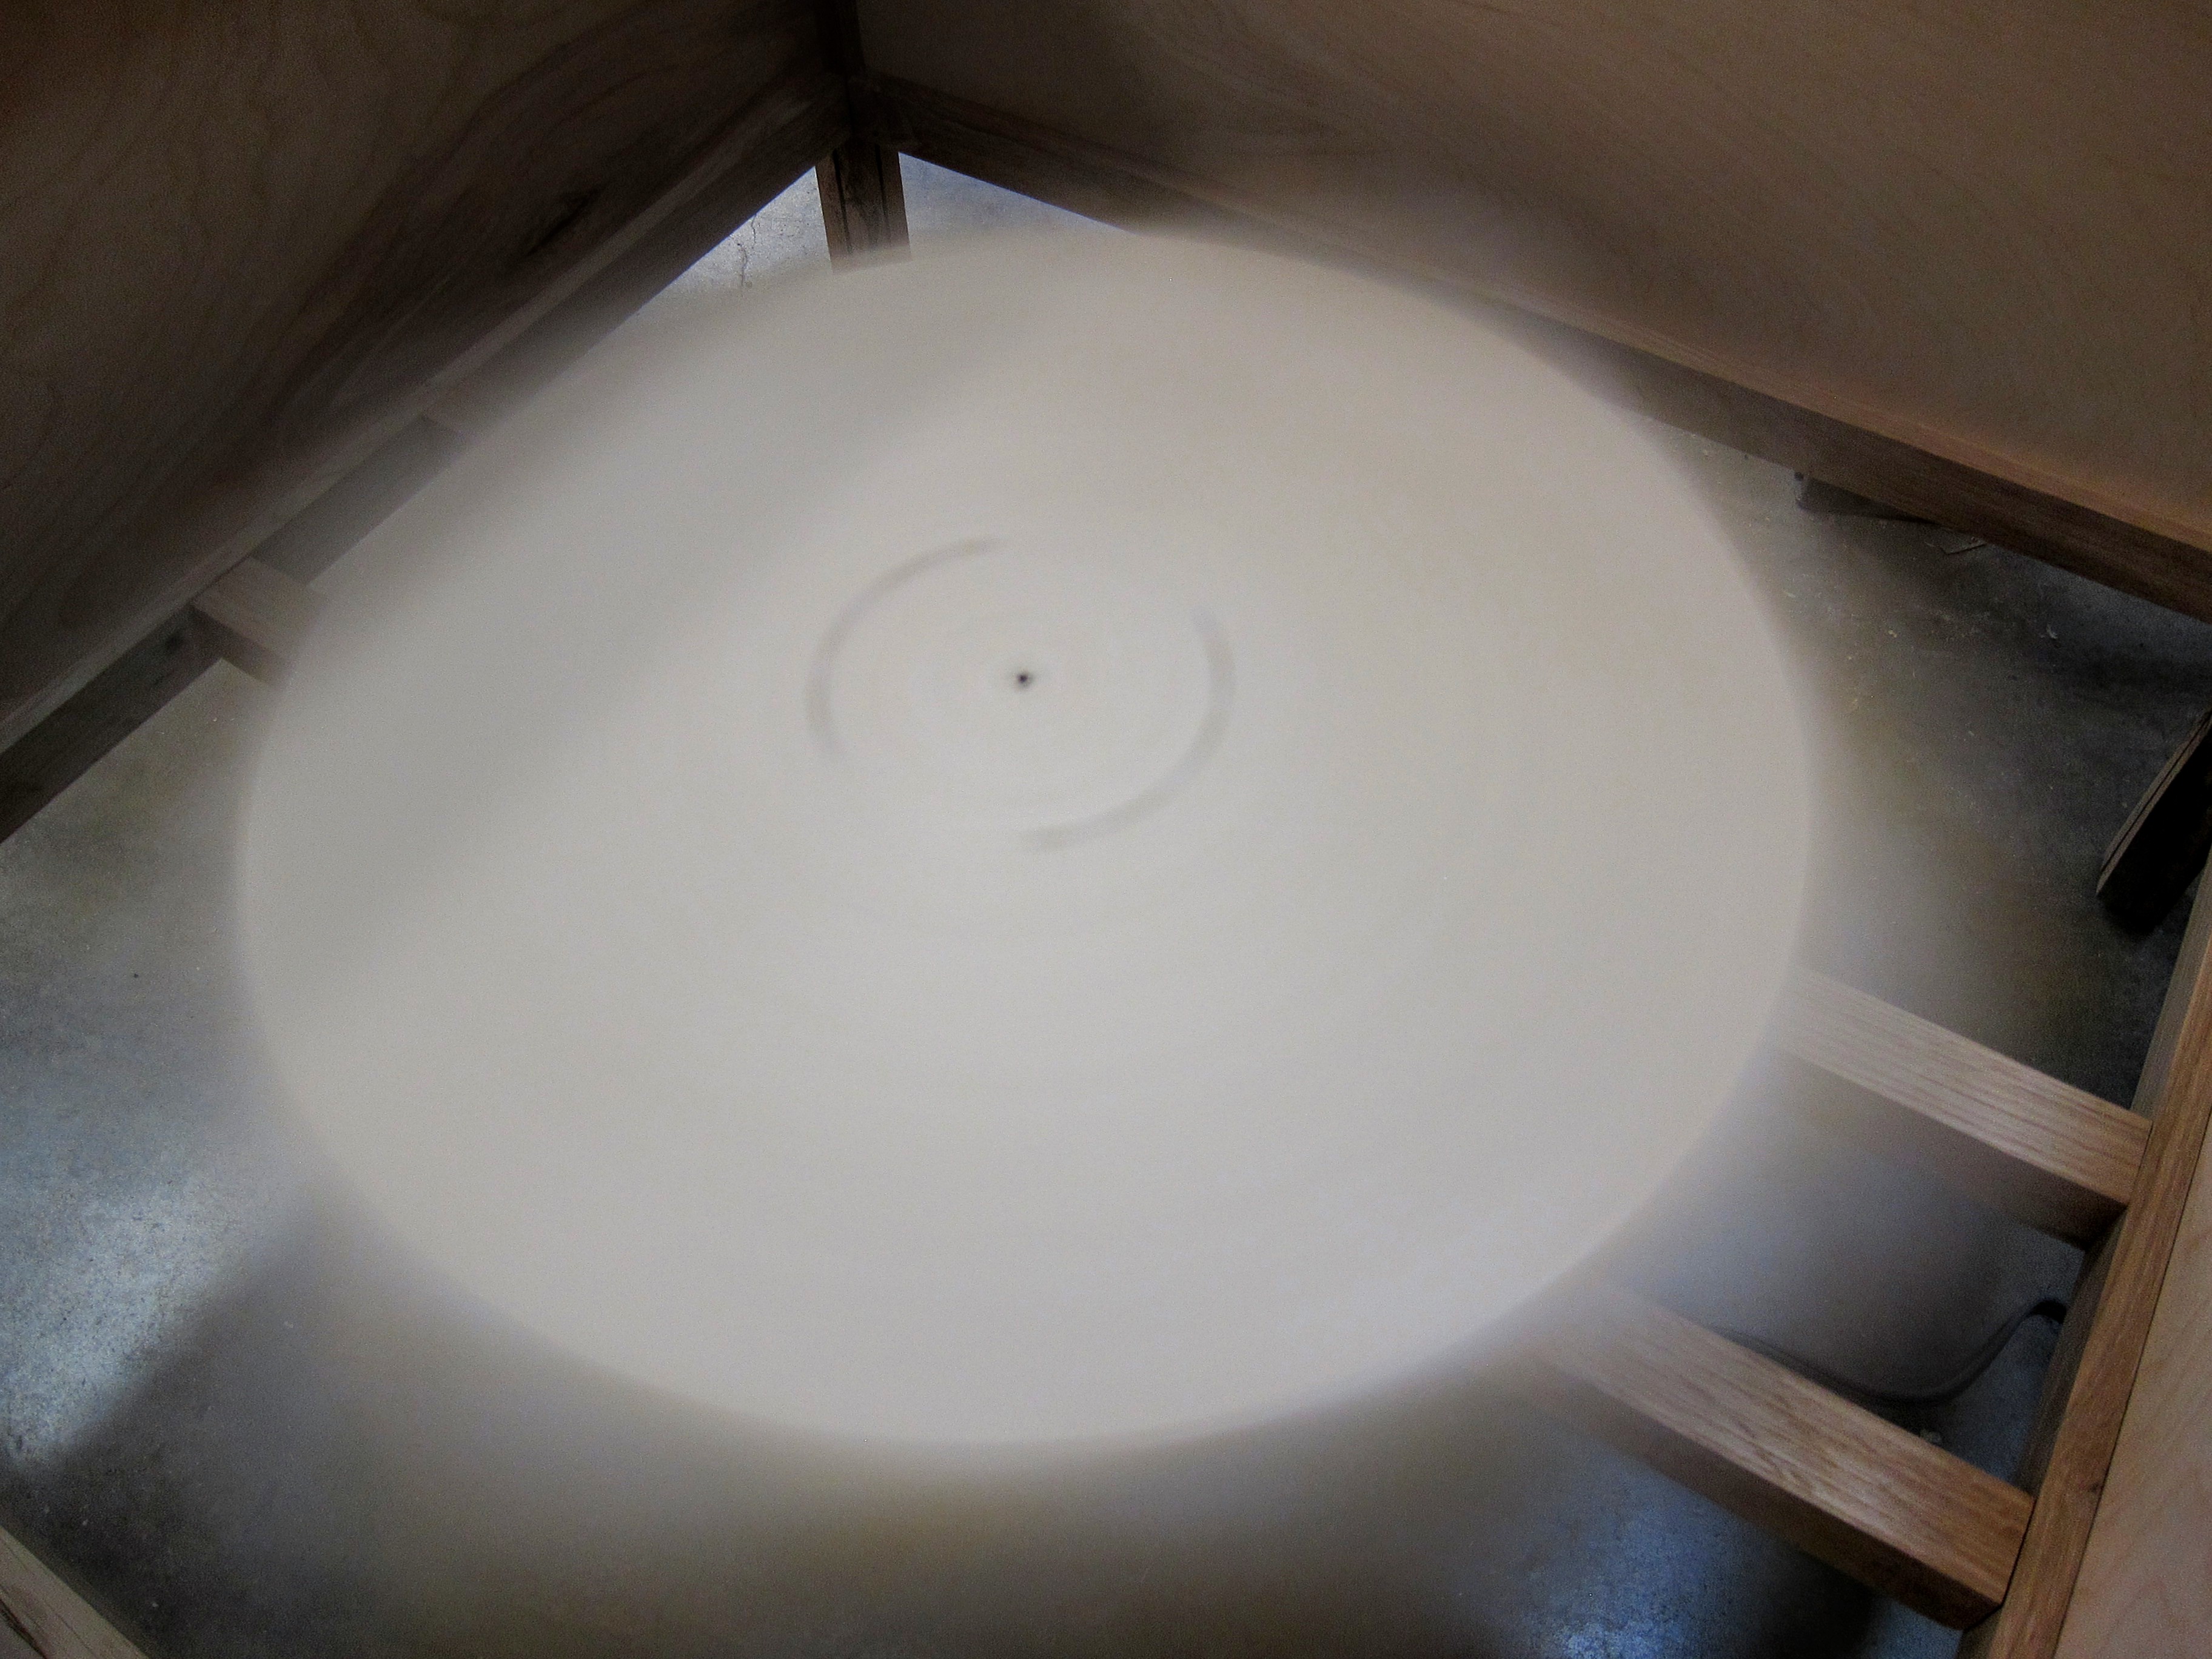
Great Victory! From there we were ready for a couple tests with the paint consistency the morning of the party.
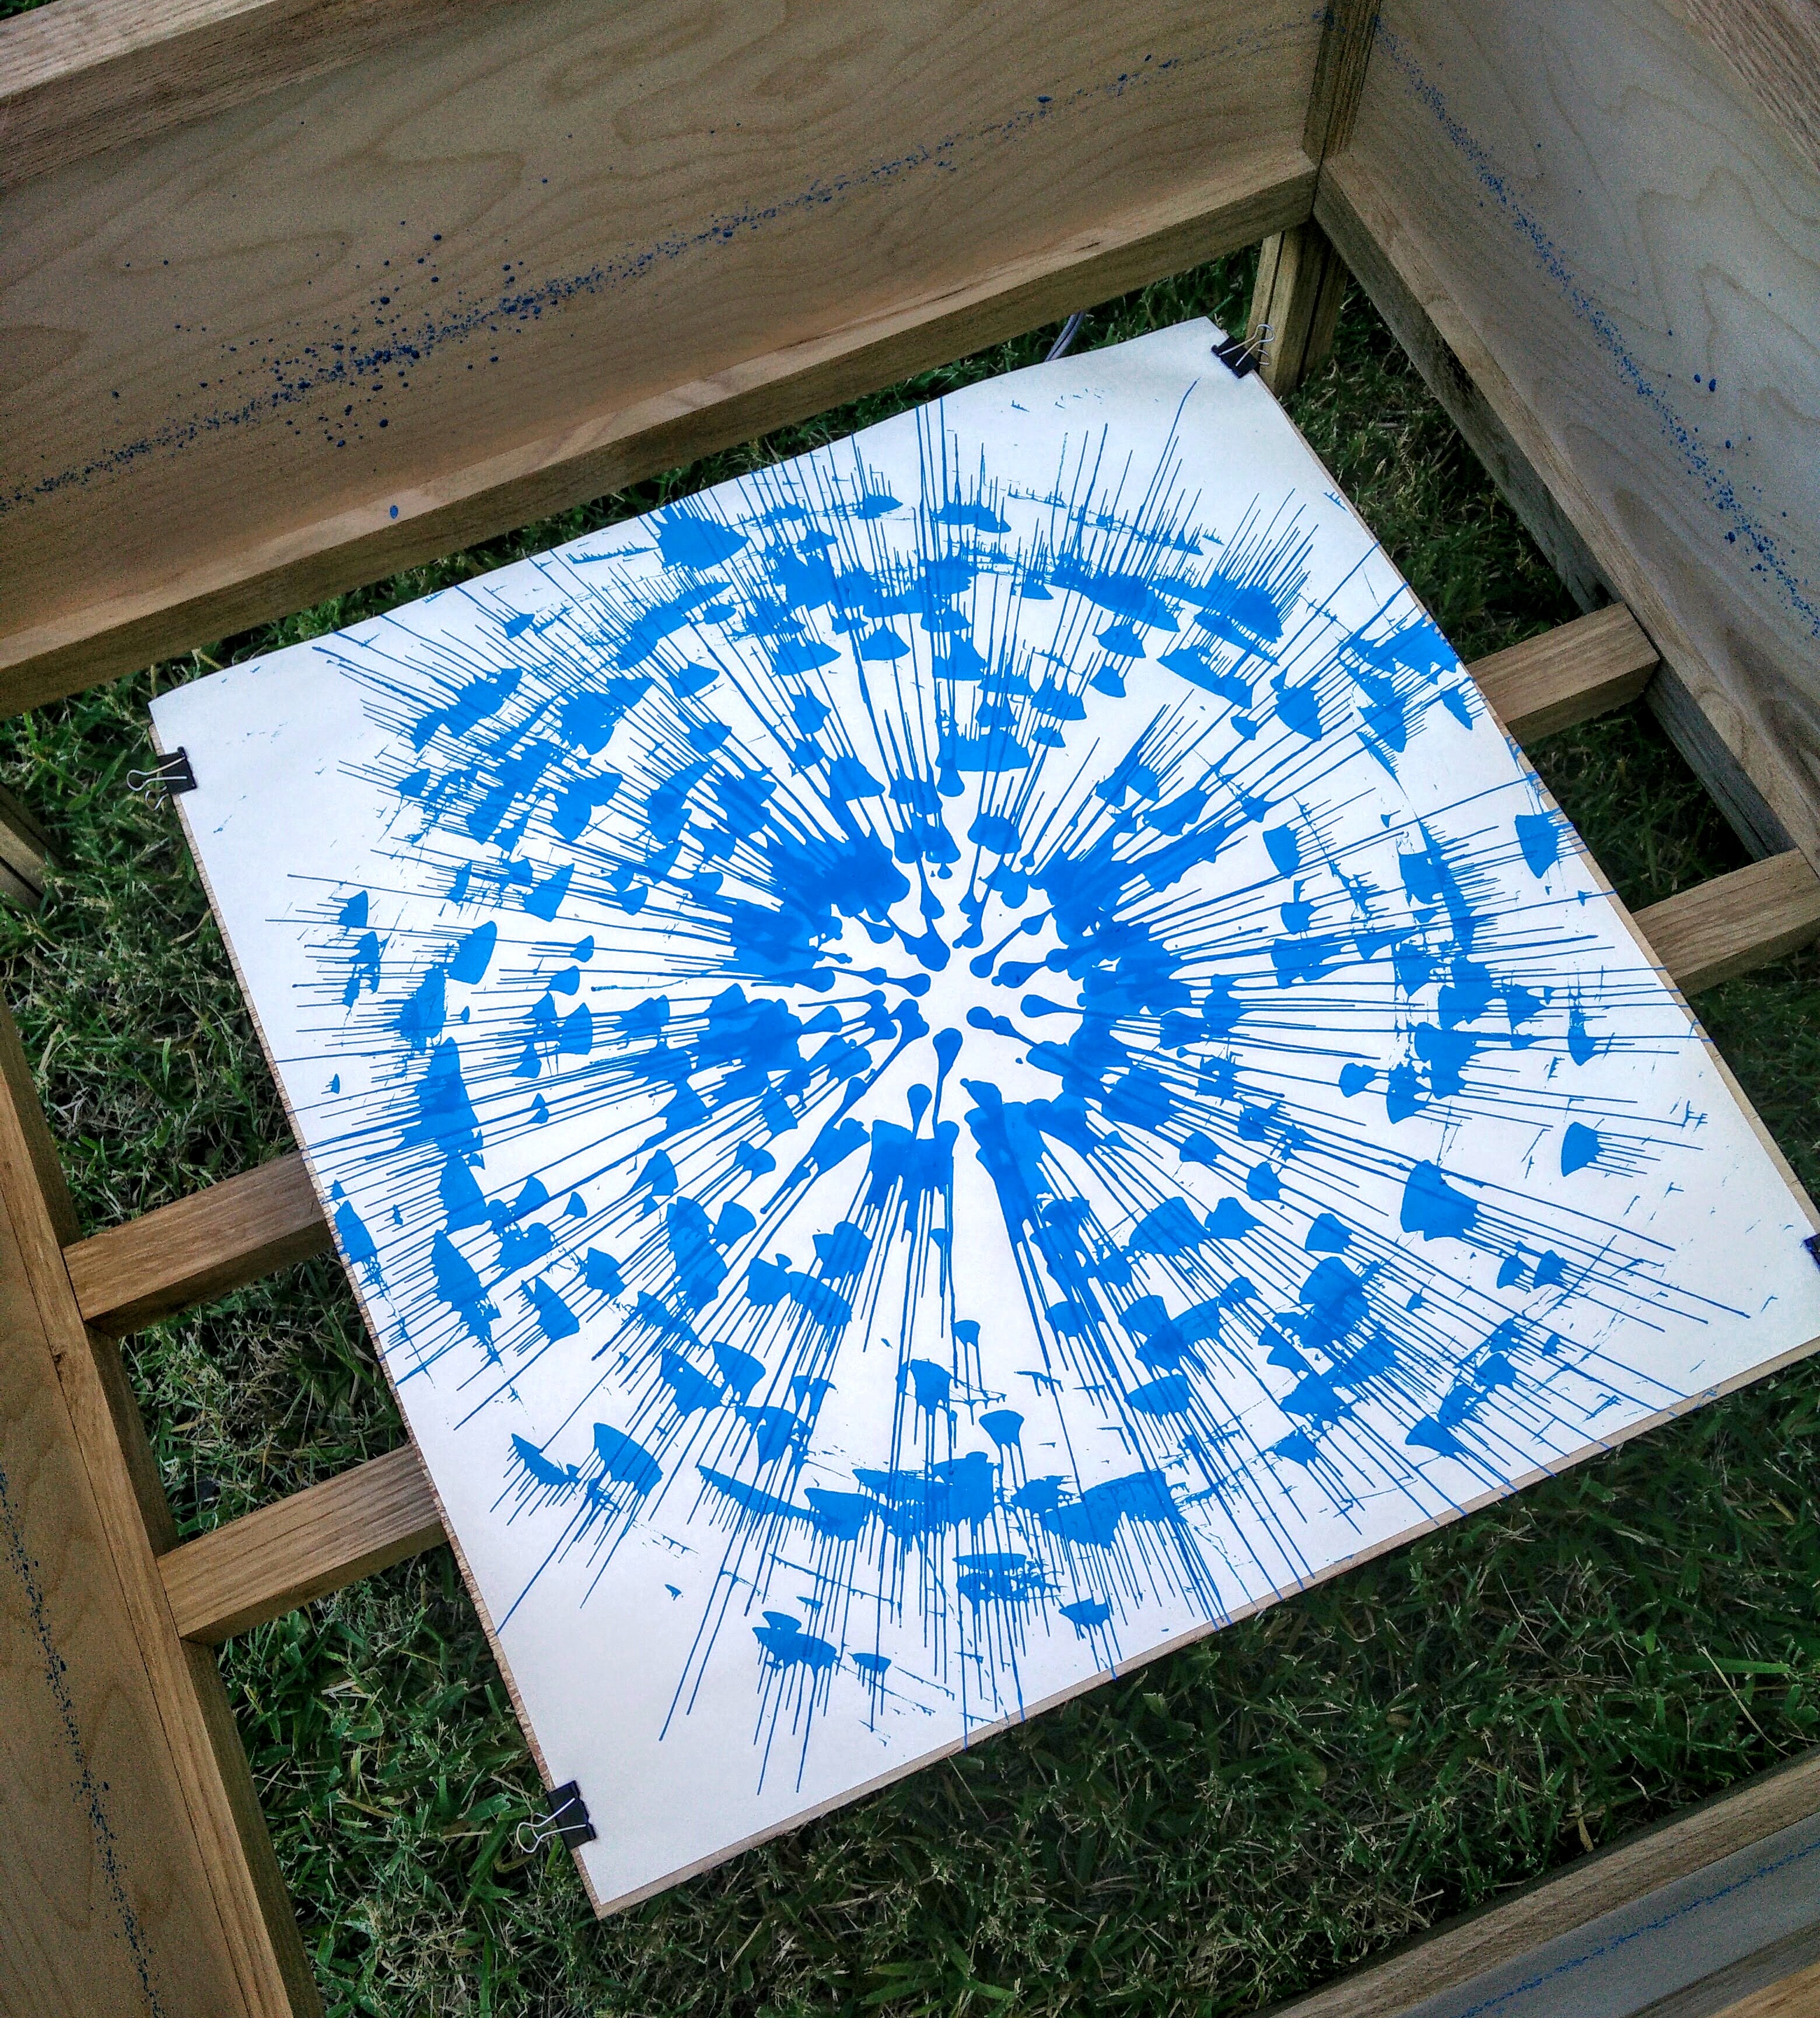
In the following you can see the various tests of paint consistencies. As it turned out, the very first color mixed was probably the best we could do.
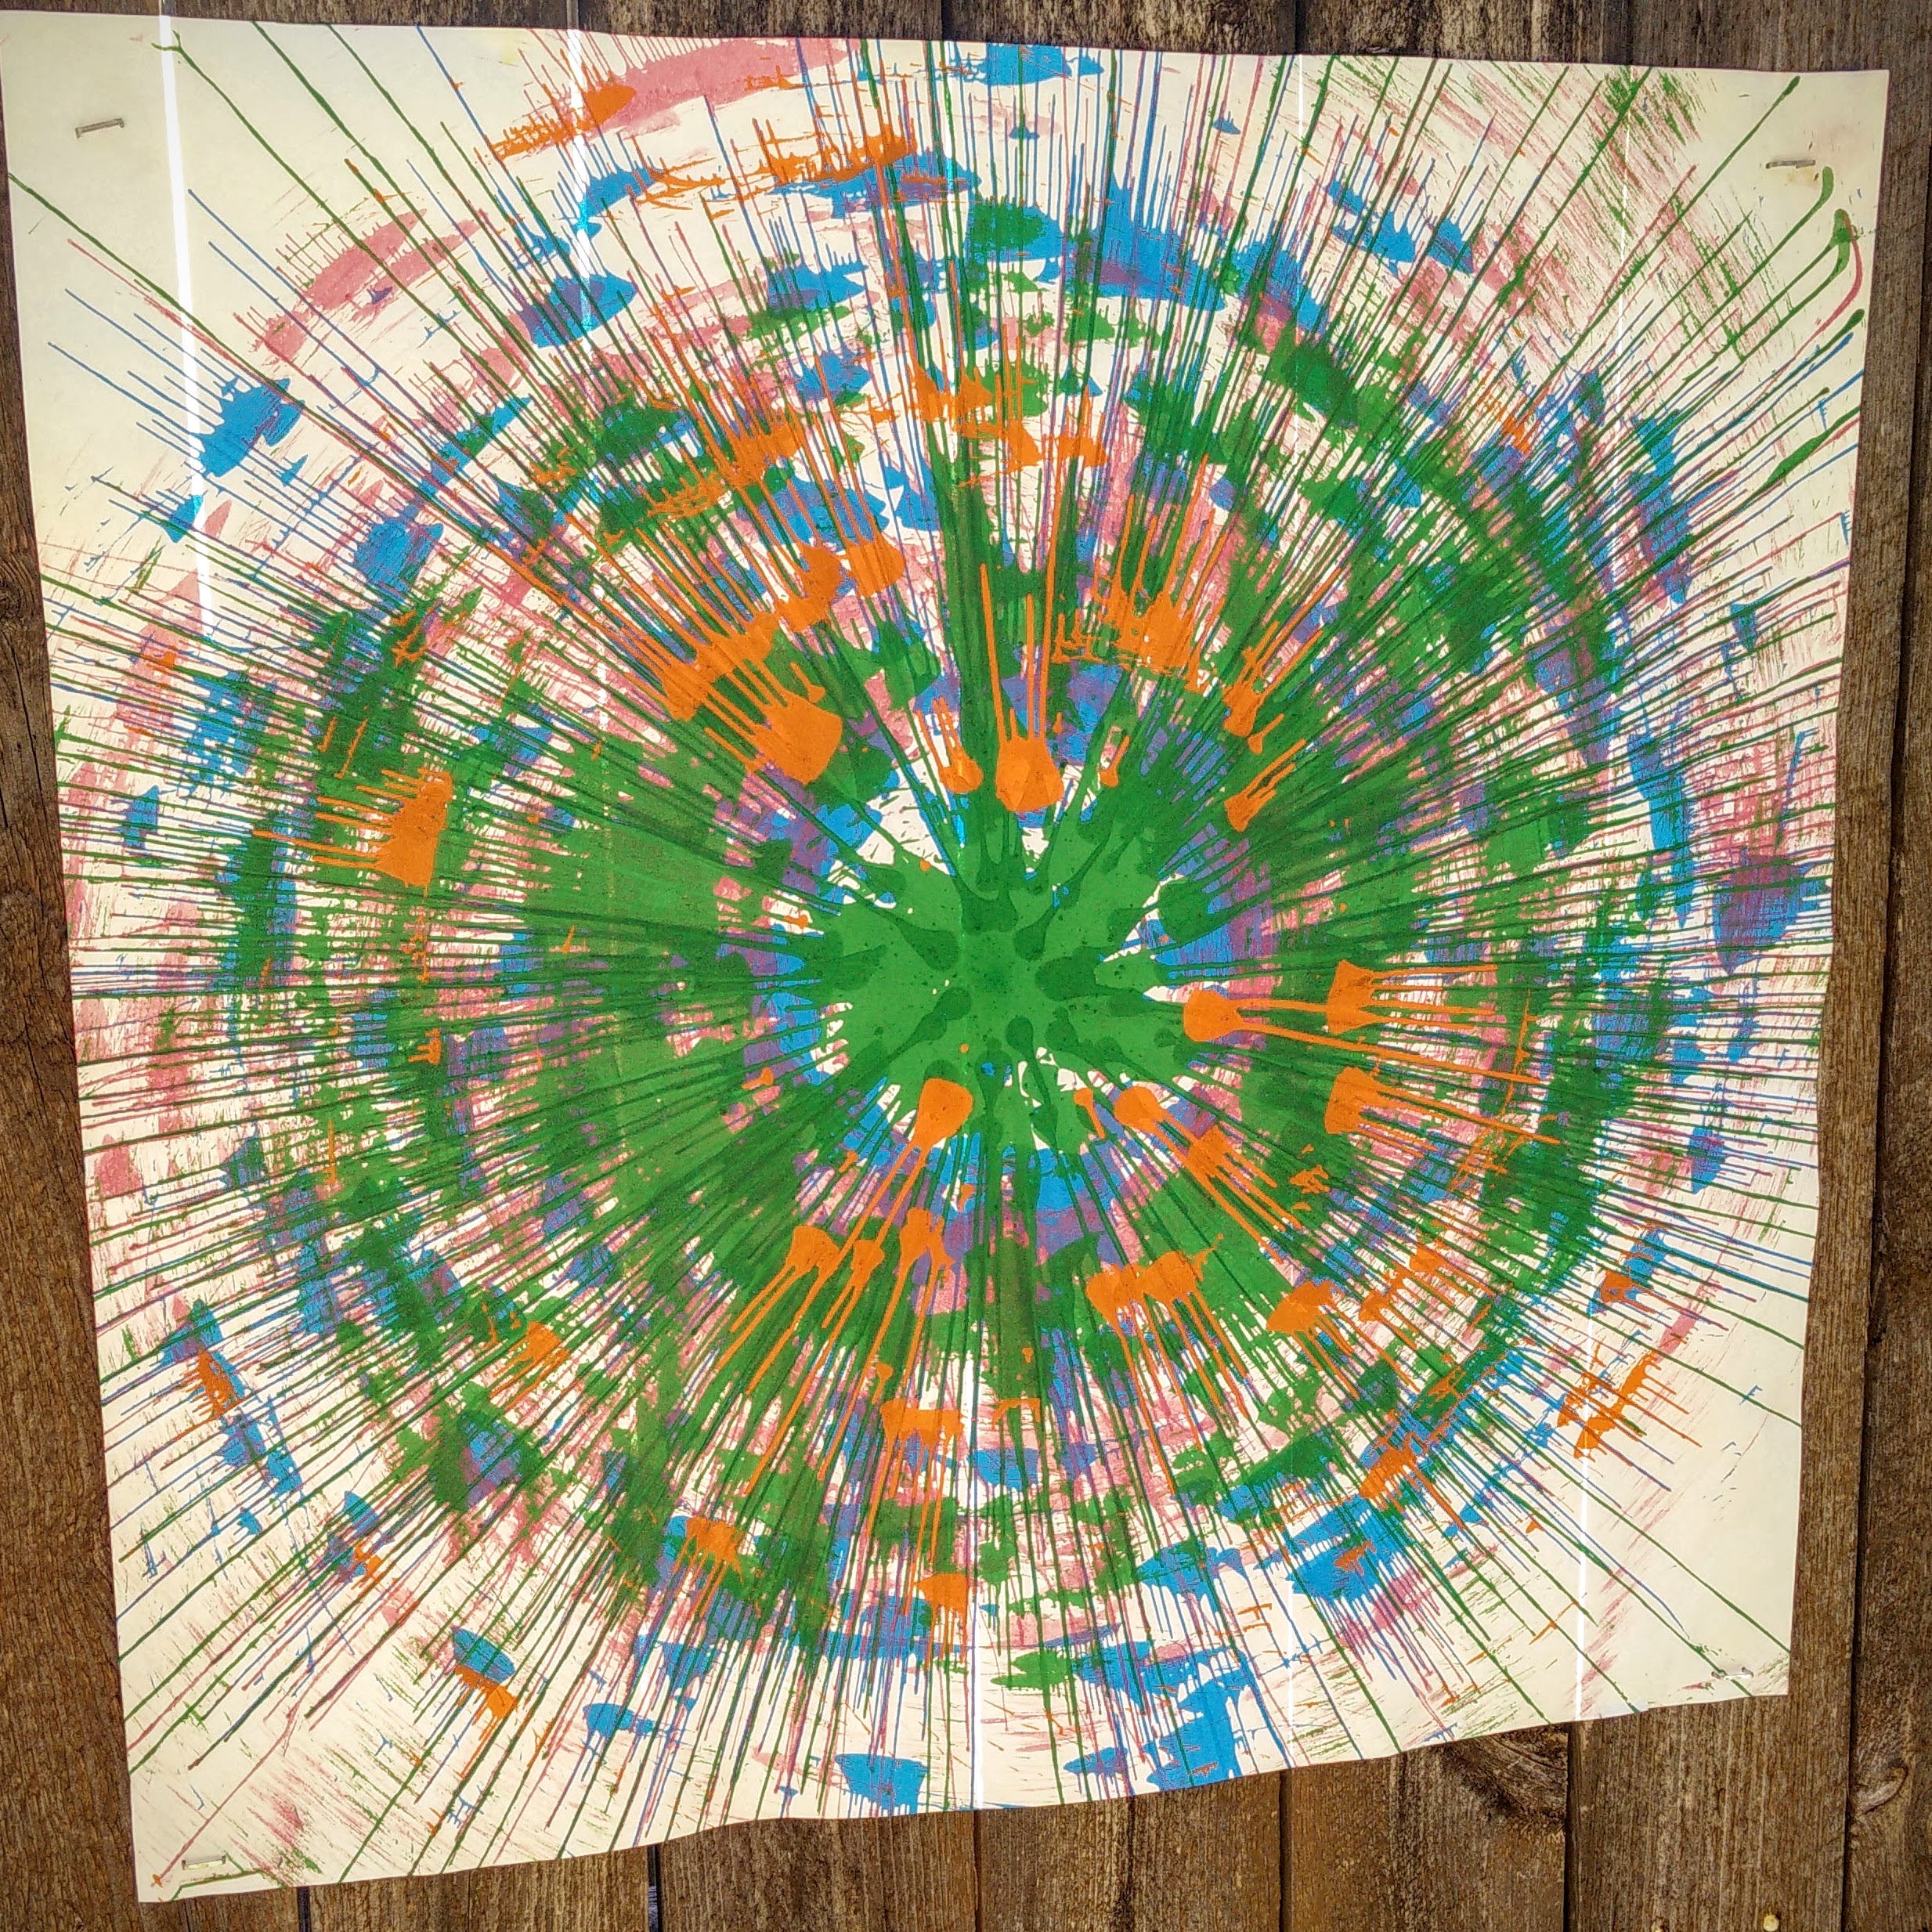
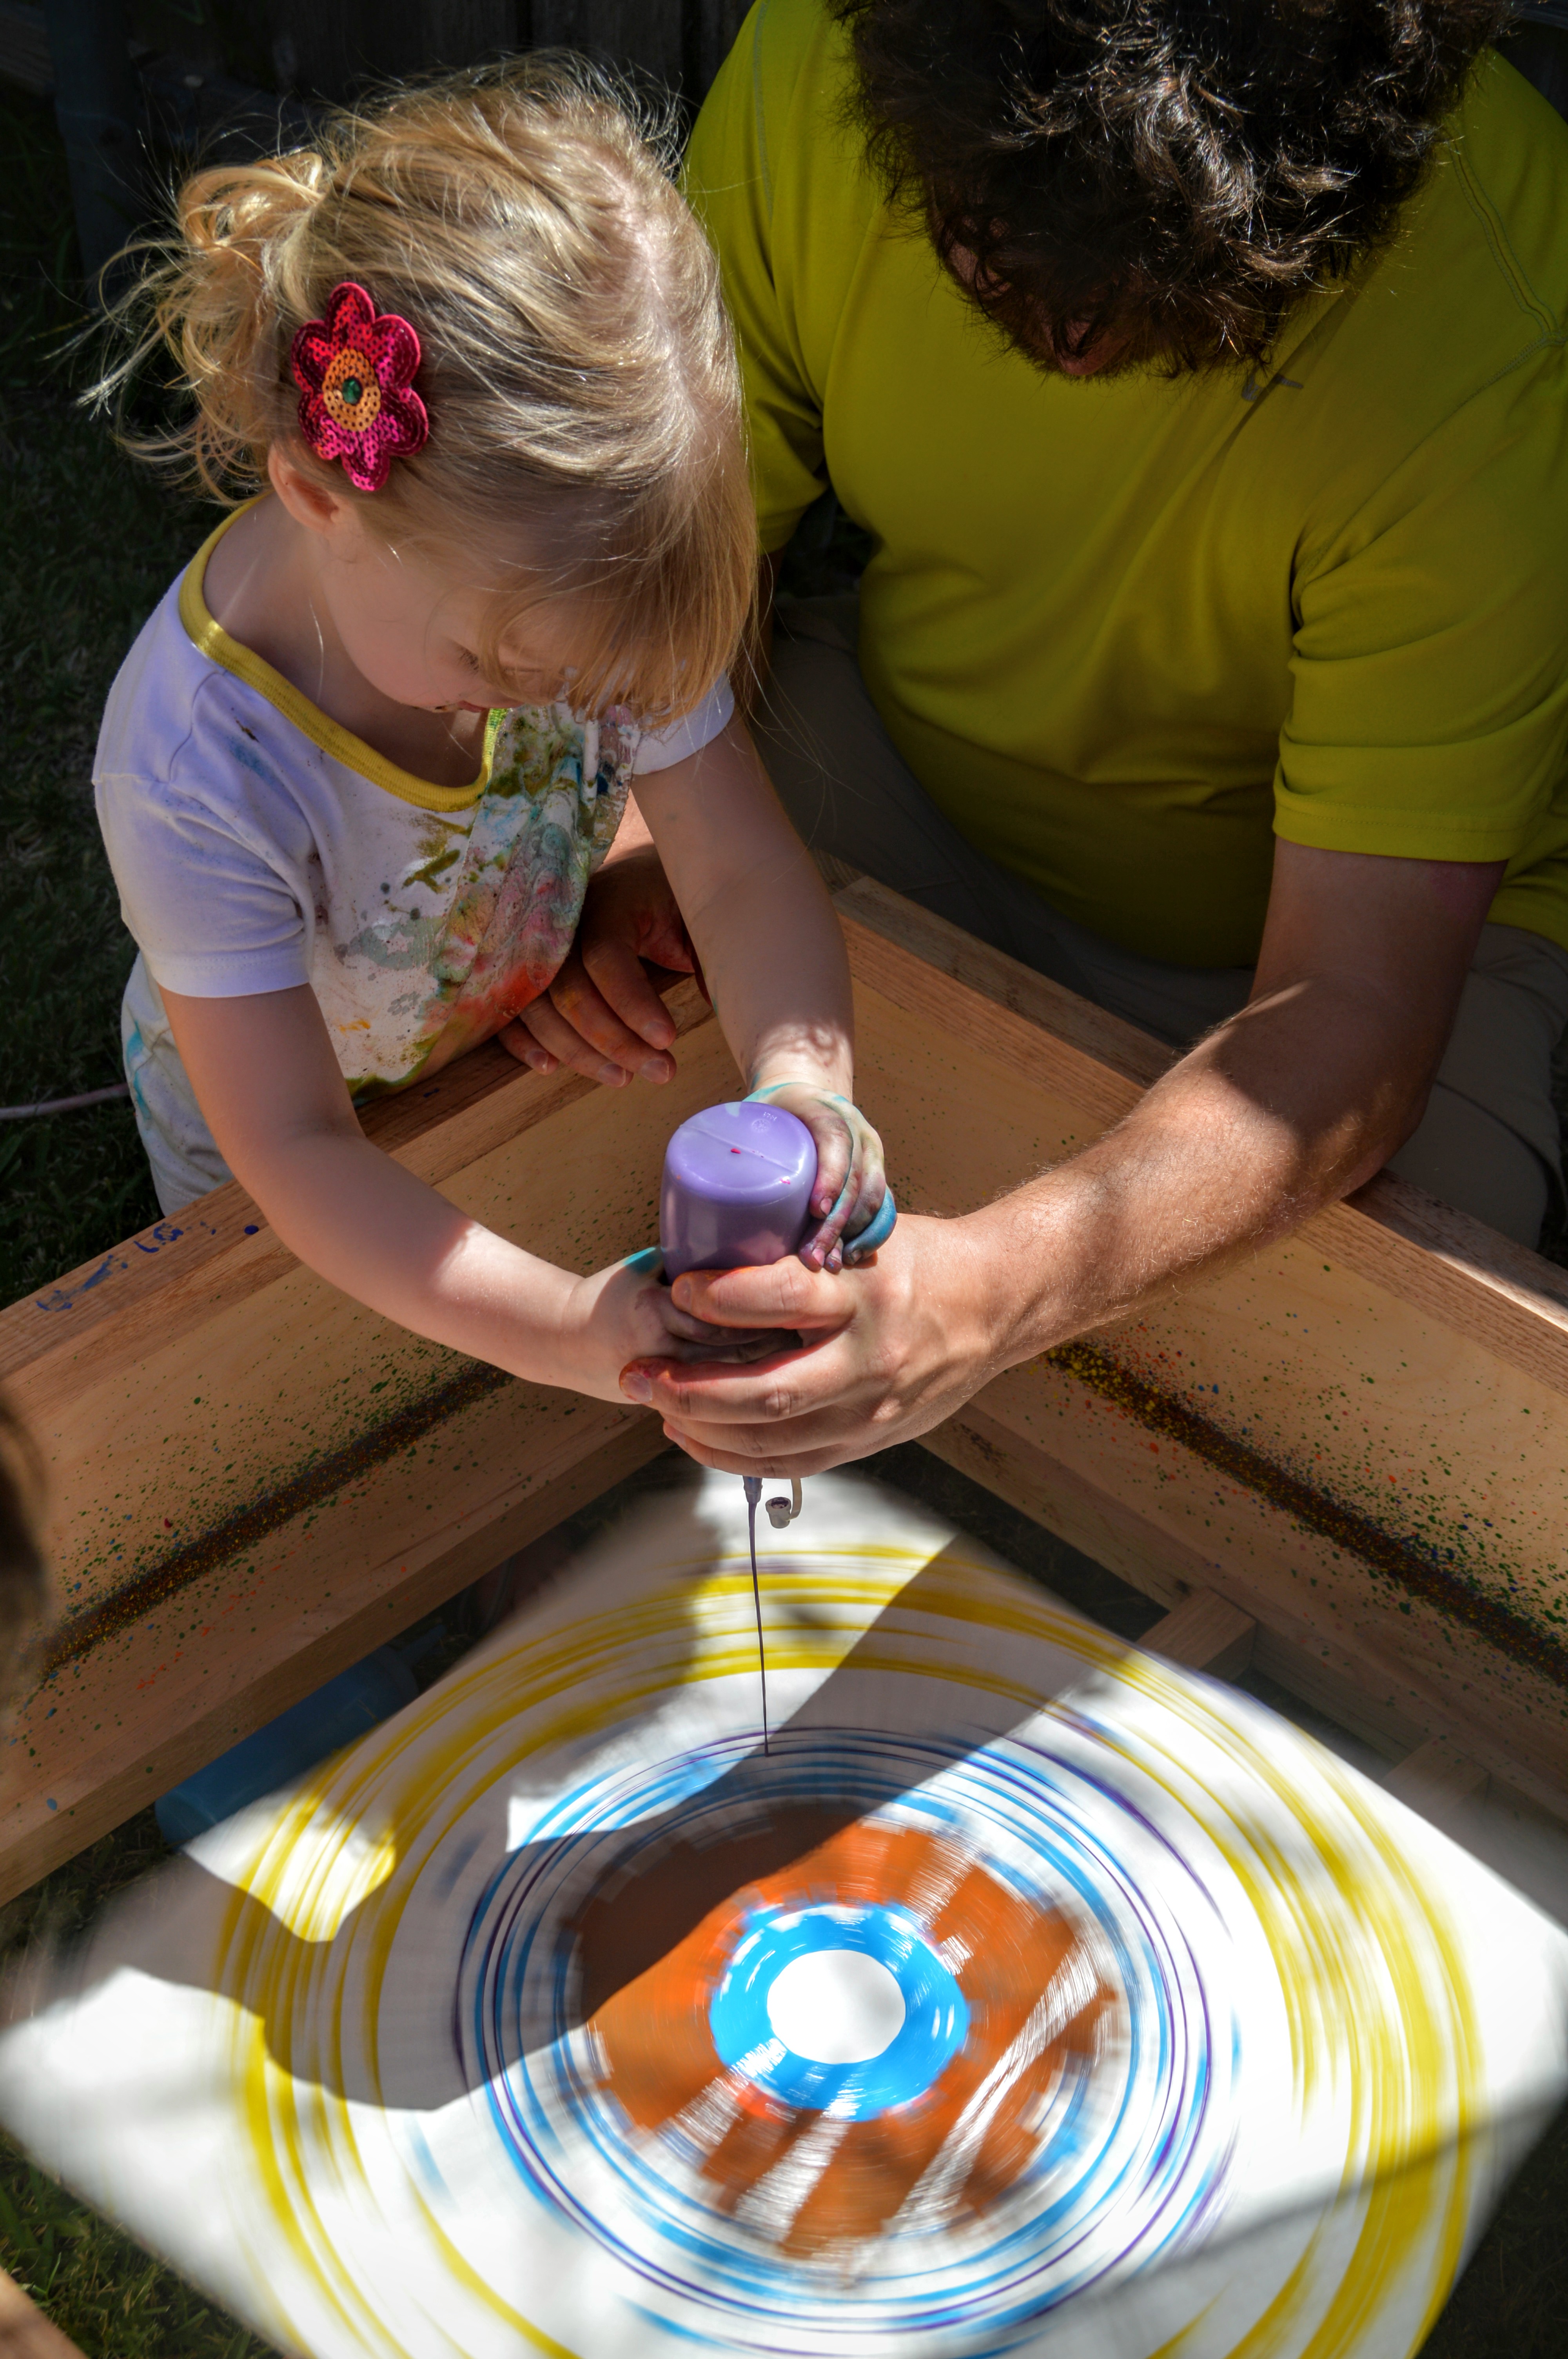
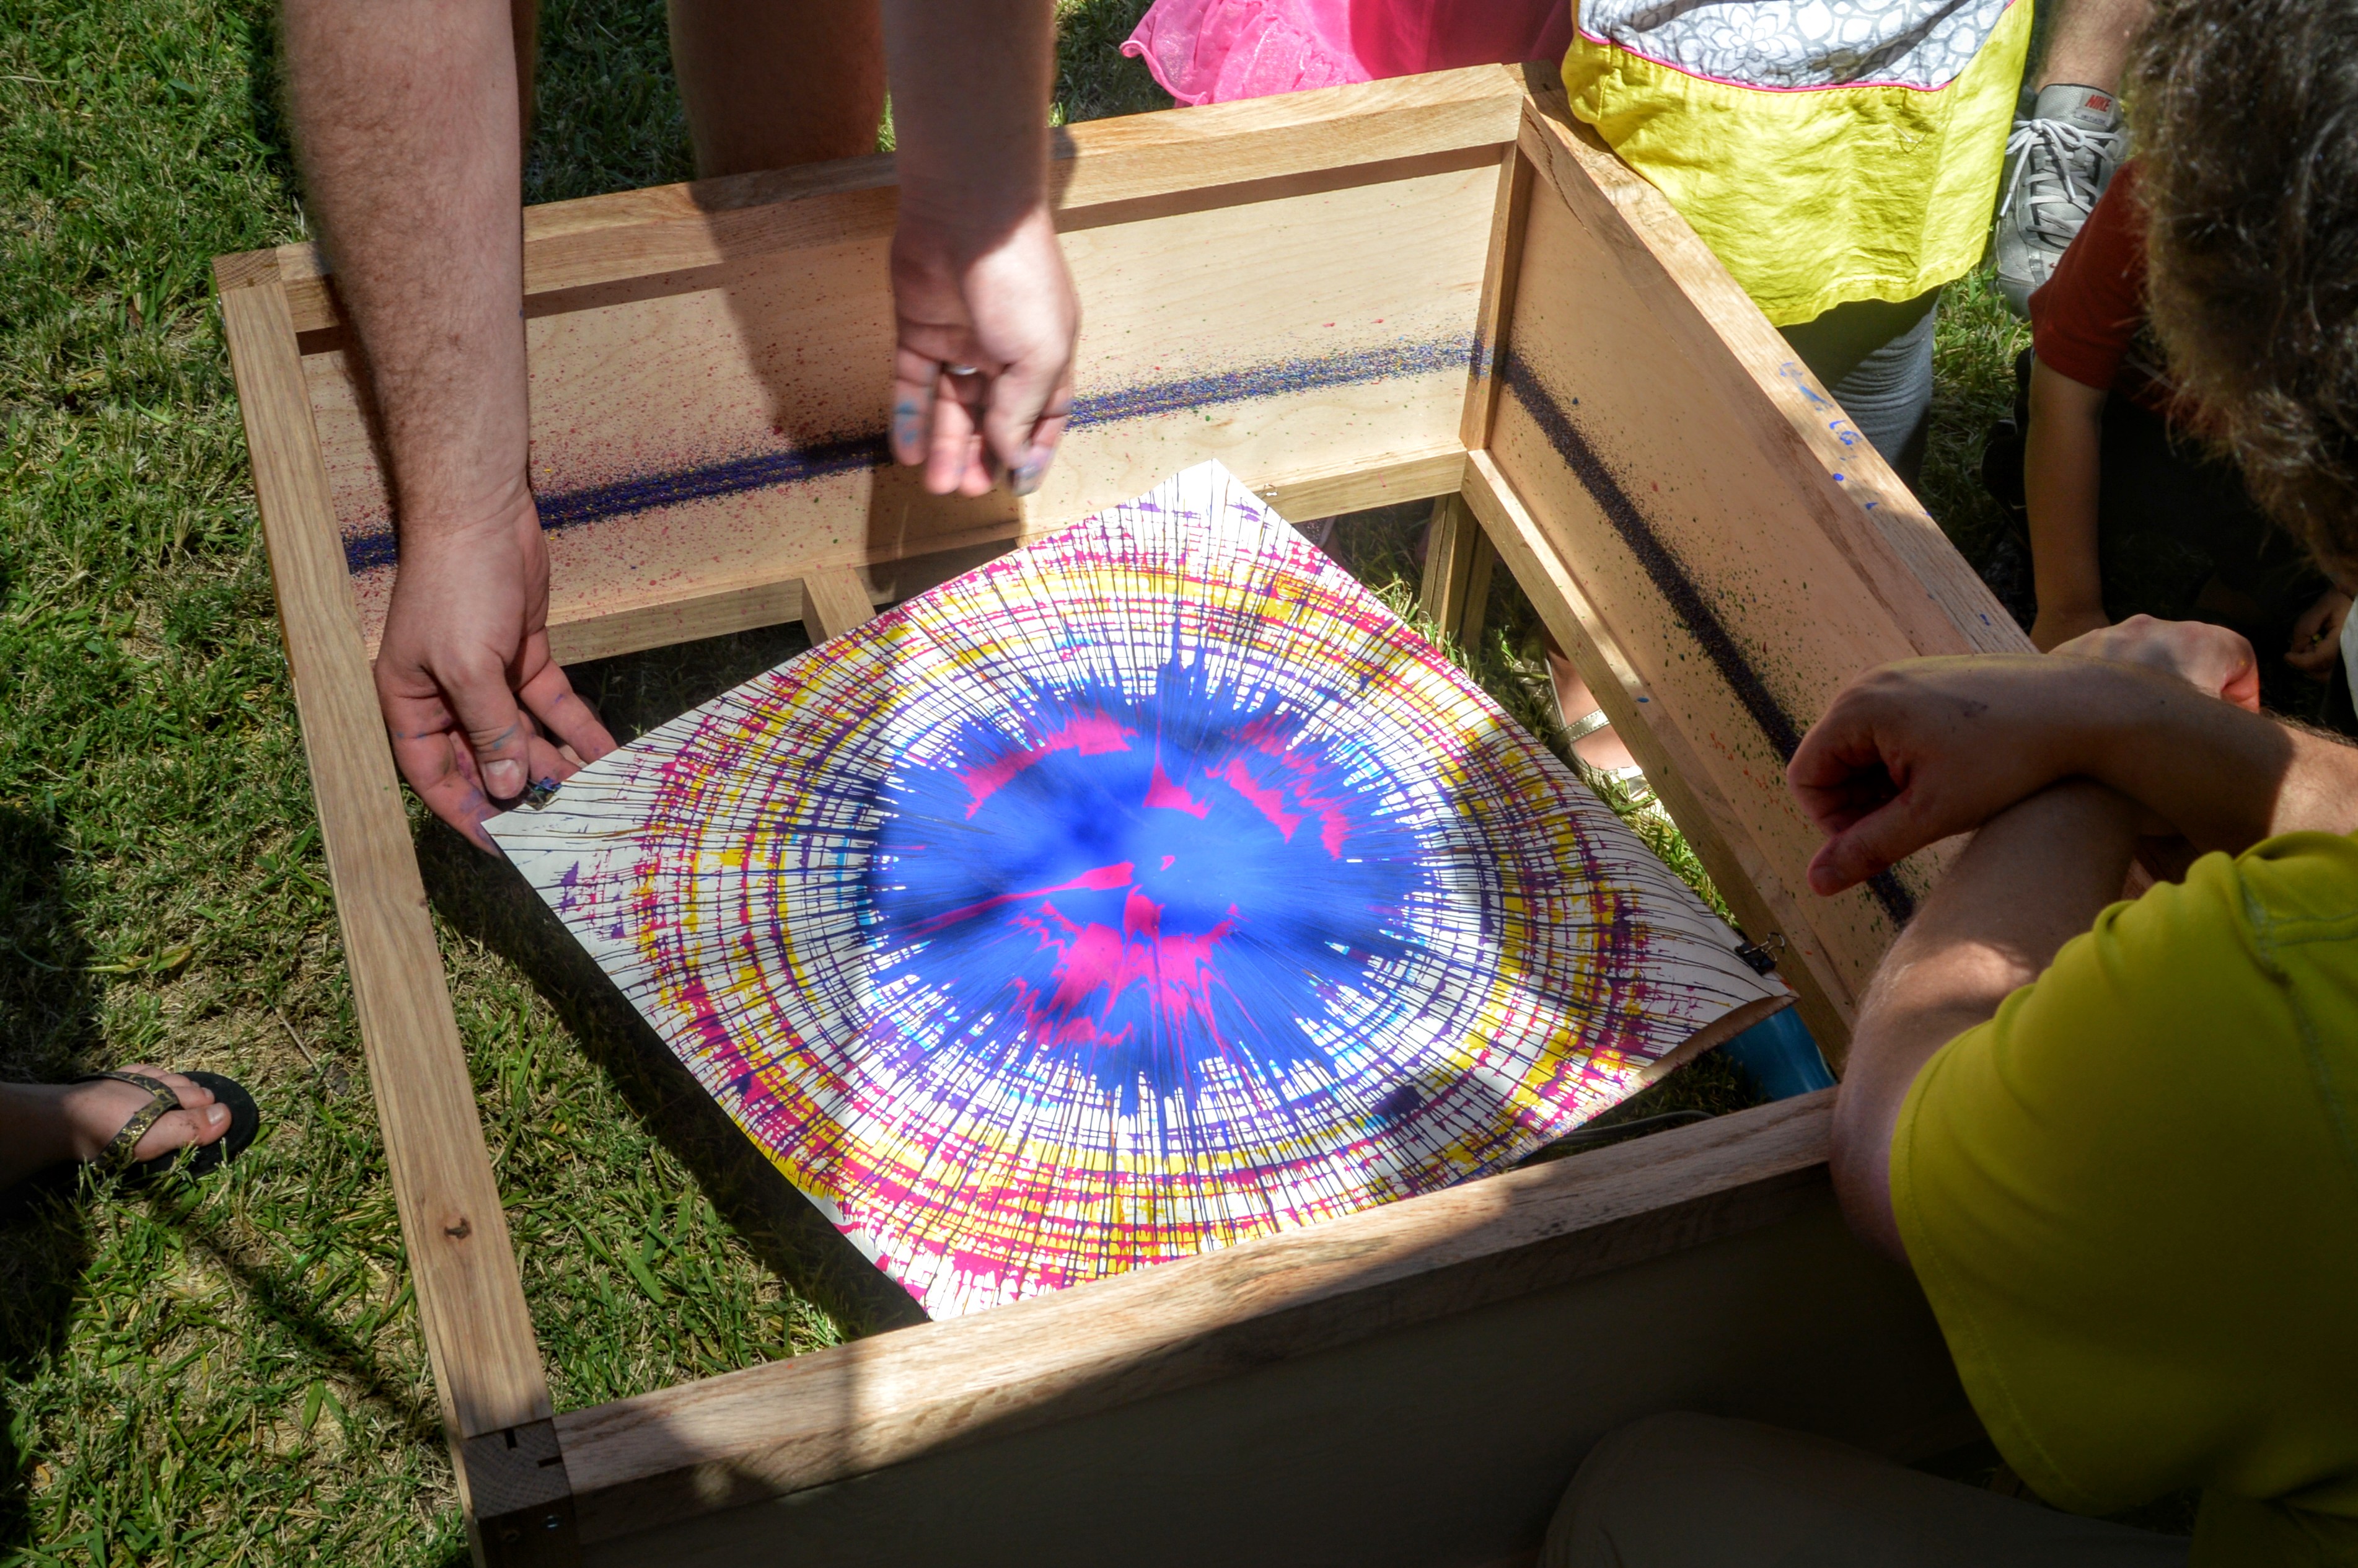
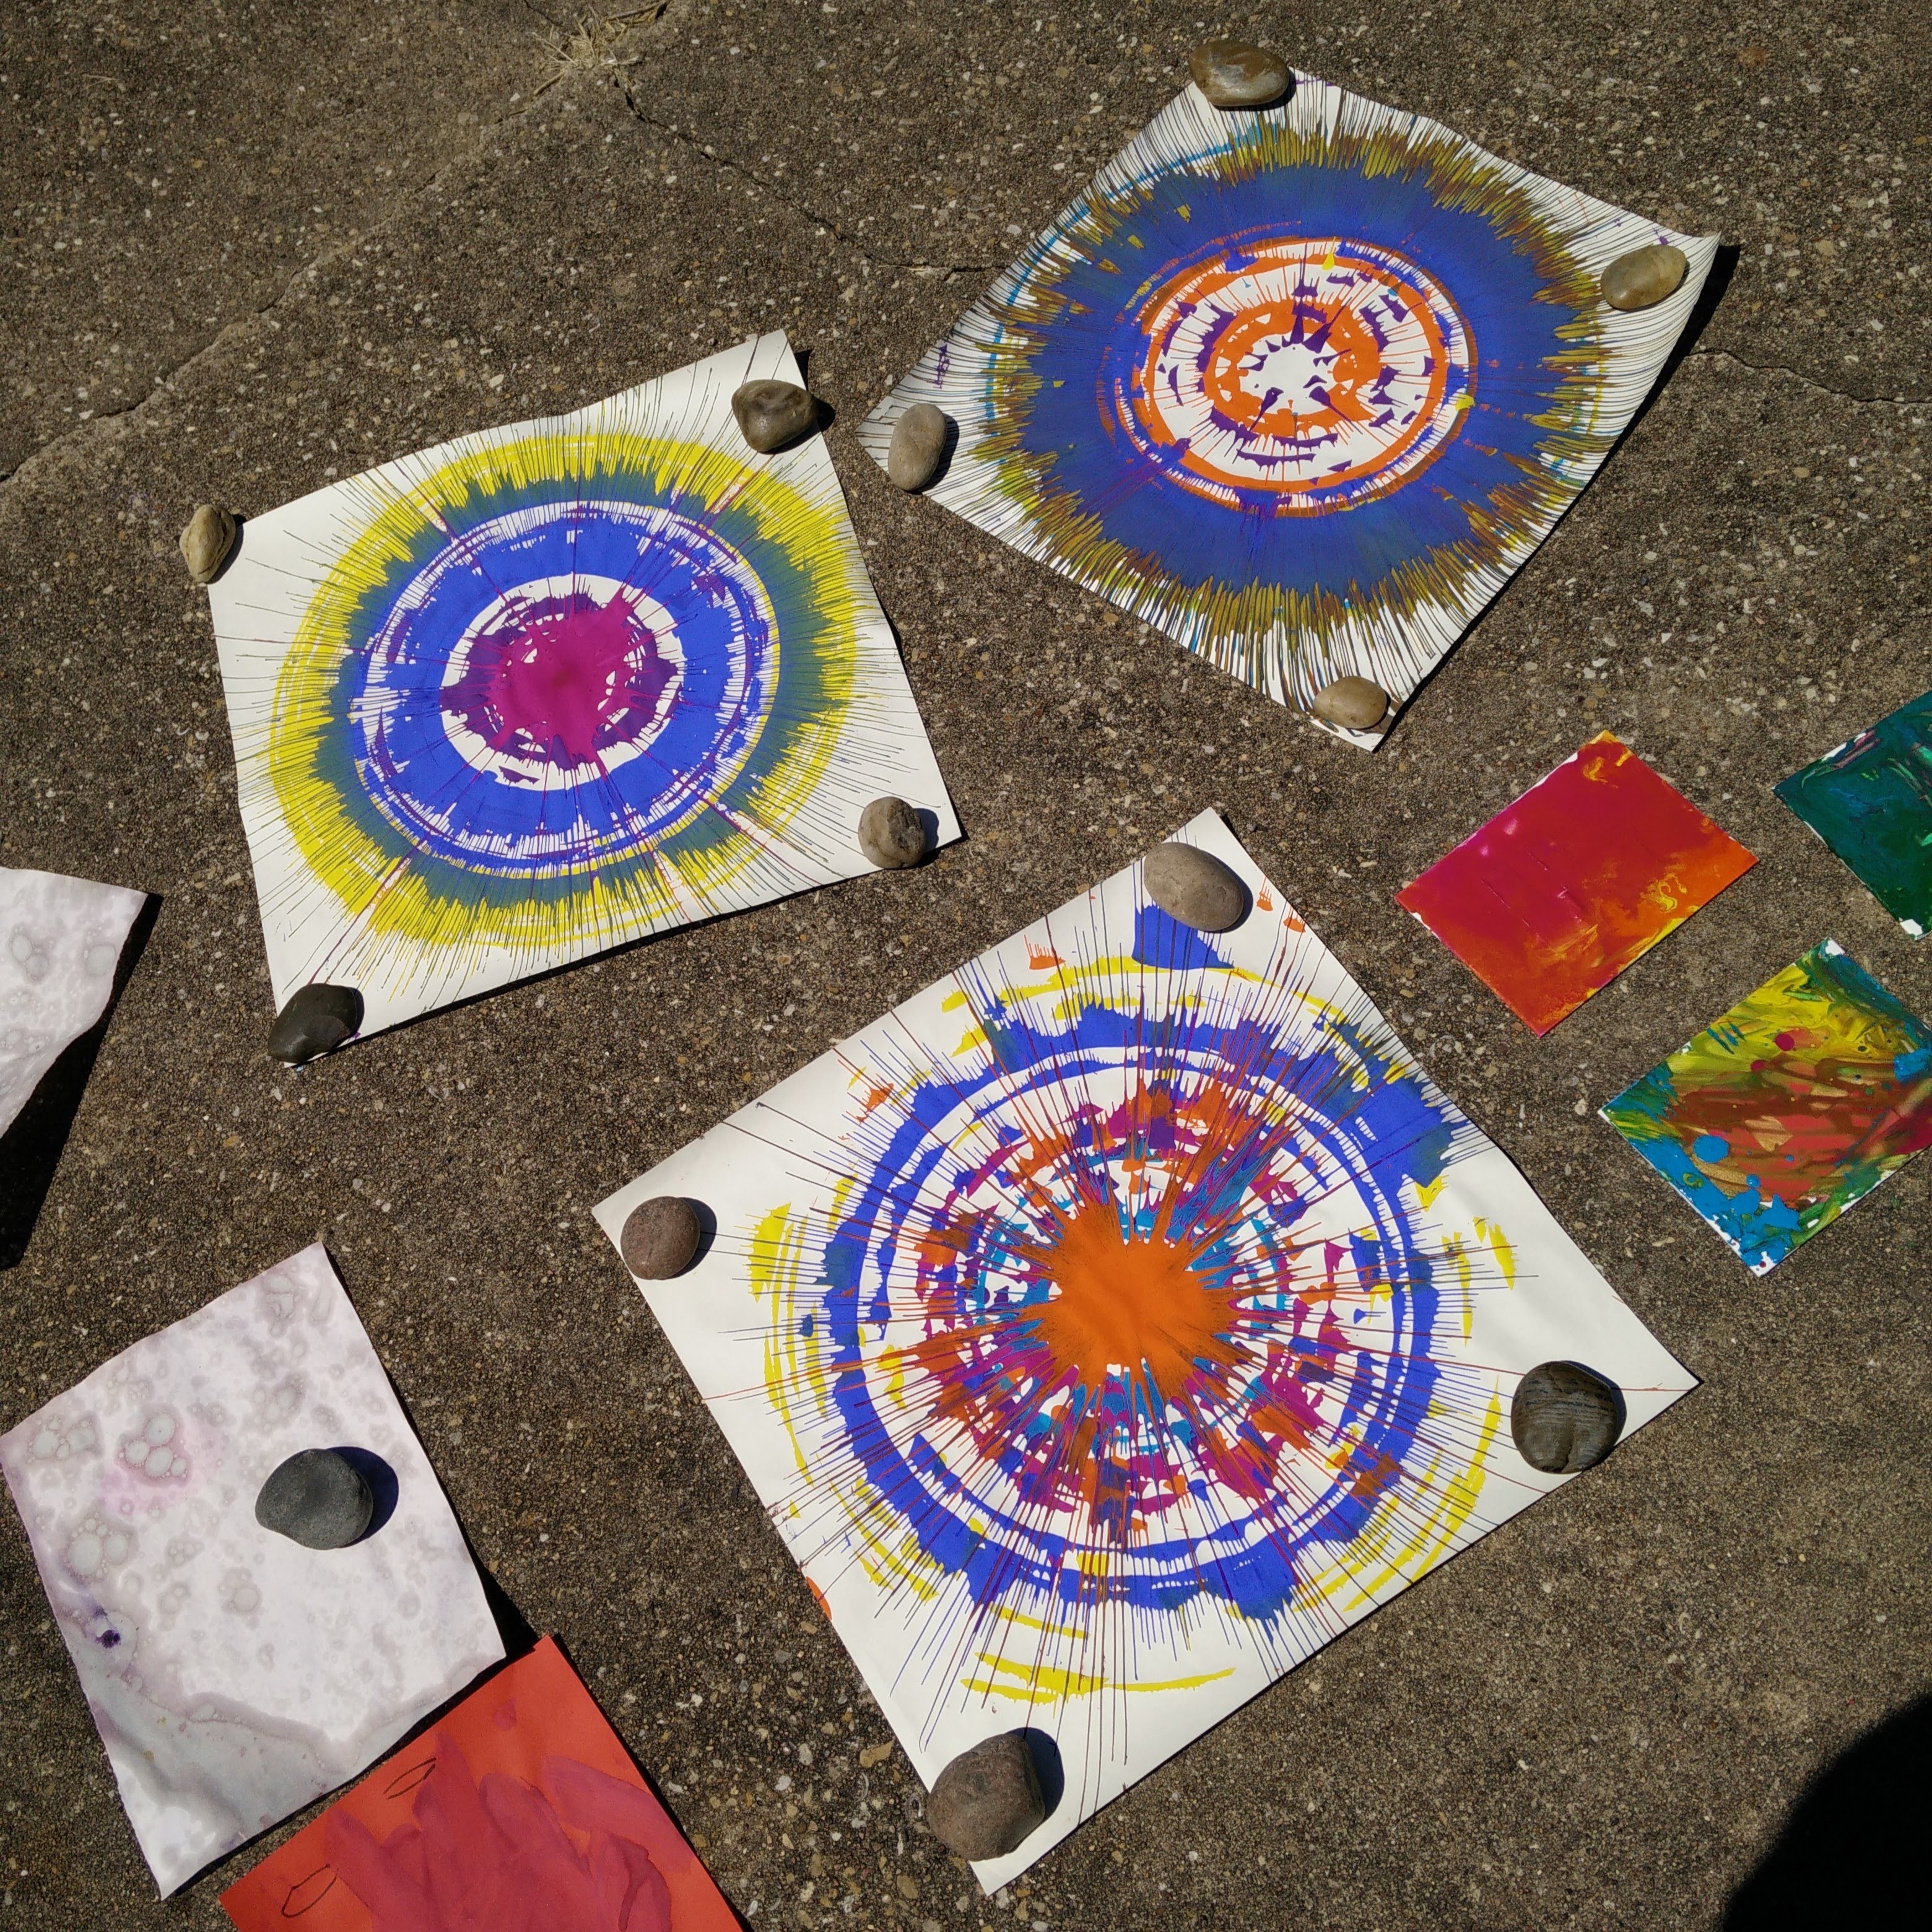
Following that the contraption was ready and it was on to creating spin masterpieces.